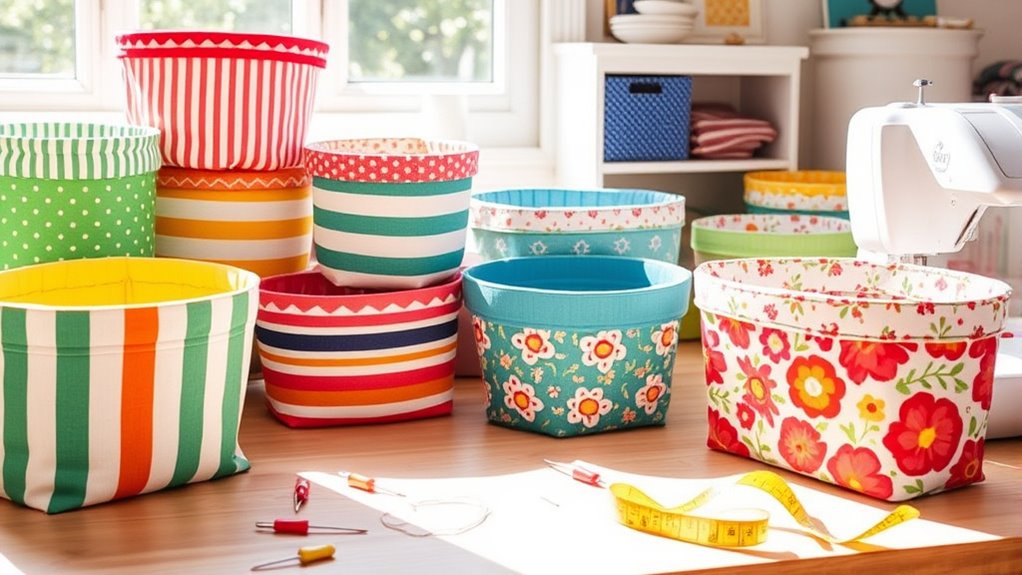
To sew your own budget-friendly fabric bins, start by choosing durable, inexpensive fabrics like old sheets or thrifted textiles, and gather basic supplies such as fusible interfacing and cardboard for support. Measure carefully, cut with sharp scissors, and sew your pieces into box shapes with straight seams for stability. Add decorative touches or personal labels to customize your bins. Keep learning exciting ideas to make your storage both practical and stylish with simple techniques.
Key Takeaways
- Use inexpensive or leftover fabrics like old sheets and thrifted materials to cut costs.
- Incorporate fusible interfacing and cardboard inserts for structure without expensive padding.
- Sew simple shapes and sizes to minimize fabric waste and ease the project.
- Repurpose household materials such as cardboard or fusible hard squares for sturdy bases.
- Add personal touches with fabric paint, embroidery, or decorative trims to customize on a budget.

ZOOFOX Sewing Basket with Accessories, Wooden Sewing Kit Storage Box with Removable Tray, Vintage Sewing Kits Carrying Bag for Sewing Mending, Beginner, Professional, Floral Print, Gift for Christmas
Package Contains: This sewing box measures at 9.4" L x 6.9" W x 5.1" H, ideal size allows…
As an affiliate, we earn on qualifying purchases.
As an affiliate, we earn on qualifying purchases.
Choosing the Right Fabrics and Supplies
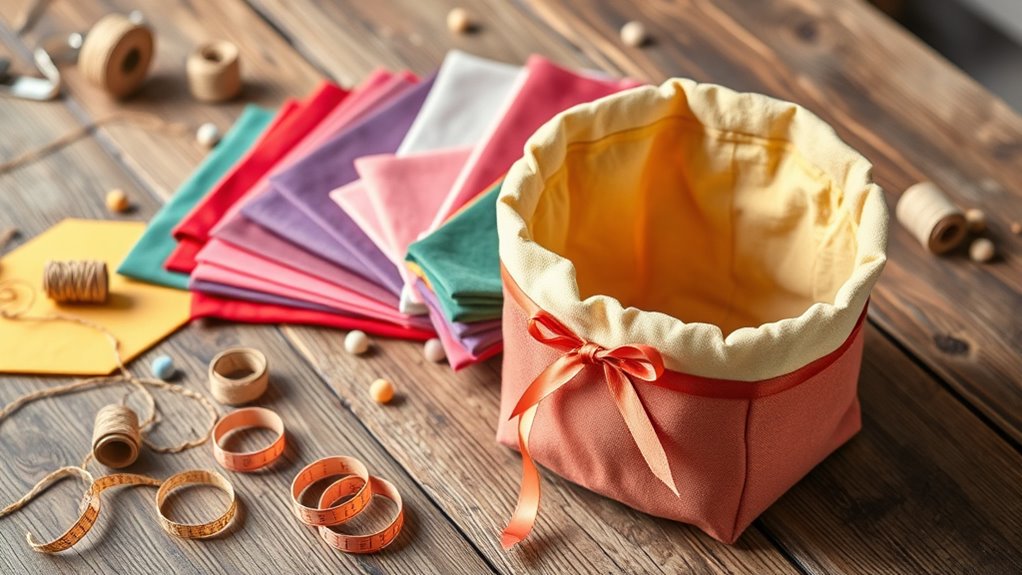
Have you ever wondered which fabrics will give your DIY fabric bins both durability and a polished look? Opt for medium-weight cotton decorator fabric, as it provides the right balance of sturdiness and smooth finish. Use coordinating fabrics for the outer and inner layers, like broadcloth combined with printed cottons, to add visual interest. Fusible interfacing is essential for structure; choose heavy interfacing for larger bins to maintain shape. For base support, incorporate cardboard or fusible inserts that fit inside the fabric. Gather your sewing essentials—thread, a sewing machine, scissors, pins, chalk, and an iron—to ensure smooth assembly. Selecting quality materials upfront makes your project more durable and gives your finished bins a professional appearance. Additionally, choosing energy-efficient materials can help reduce environmental impact and promote sustainable crafting practices.

ZOMONETI Light Weight 17in x 30yd White Iron On Non-Woven Fusible Interfacing, Single-Sided Polyester Fabric for DIY Craft Supplies, Quilting, Sewing, Shirt Plackets, Dresses, Collars, Cuffs
【High-quality Polyester Material】The apparel interfacing, crafted from non-woven fabric and polyester amide environmental adhesive, features a comfortable feel,…
As an affiliate, we earn on qualifying purchases.
As an affiliate, we earn on qualifying purchases.
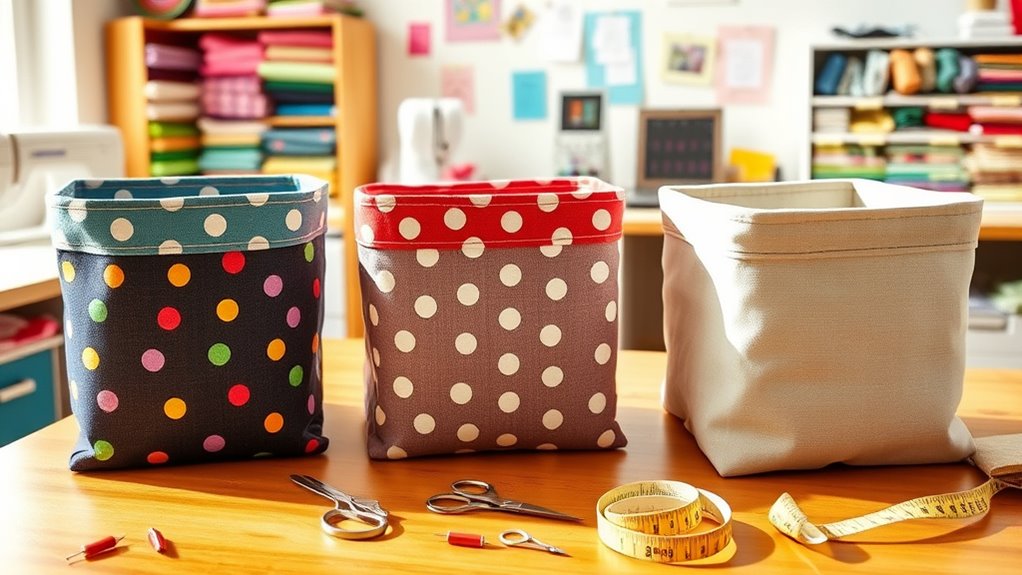
Measuring and Cutting Your Fabric Pieces
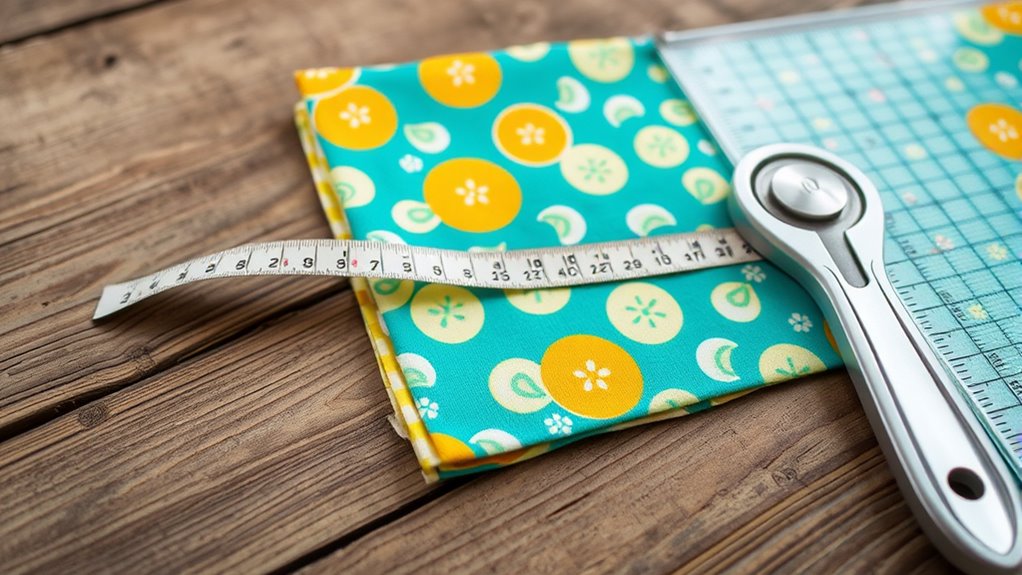
To create well-fitting fabric bins, you need to measure your pieces accurately and cut with precision. Make sure to add seam allowances—usually about half an inch—to your measurements to guarantee proper fit. Taking your time with these steps ensures a neat, professional-looking finished product. Also, using proper measuring techniques can help prevent errors and ensure your fabric pieces align perfectly during assembly.
Accurate Measurement Techniques
Getting accurate measurements and clean cuts is essential for creating well-fitting fabric bins and baskets. Use a reliable measuring tape to determine the dimensions of your desired bin, including extra allowances for seams—usually 0.5 inch or 1 cm. Mark measurements clearly with fabric chalk or a fabric pen, keeping your hand steady for precision. When cutting, always cut slowly and use sharp fabric scissors to ensure smooth, straight edges. Double-check your measurements before cutting, especially when working with multiple pieces, to prevent mistakes. For consistent results, consider creating a paper or cardboard template of your pattern to trace onto fabric. Precise measurement and careful cutting lay the foundation for a professional-looking, sturdy storage bin. Incorporating visual and auditory cues can also assist in achieving accurate measurements and cuts.
Cutting With Precision
Wondering how to guarantee your fabric pieces come out perfect? Precise measuring and cutting are key. Use a clear ruler or measuring tape to mark your fabric accurately, adding seam allowances as needed. Sharp fabric scissors or rotary cutters ensure clean, straight cuts, avoiding fraying or uneven edges. Always double-check measurements before cutting to prevent mistakes. Proper color calibration techniques can also help ensure your finished project has consistent and professional-looking results.
Allowing Seam Margins
When measuring and cutting your fabric pieces, always account for seam margins to guarantee a perfect fit. Typically, add 0.5 inches (1.2 cm) to each measurement for seams, ensuring enough fabric for sewing. For example, if your finished piece needs to be 12 inches, cut it at 12.5 inches. Be consistent with your seam allowance across all pieces to maintain uniformity. Use fabric chalk or a fabric marker to outline your measurements, including the seam margin. When cutting, hold your ruler firmly and cut smoothly to avoid uneven edges. Properly accounting for seam margins prevents pieces from being too small or too large after sewing, ensuring your fabric bins and baskets come together neatly and hold their shape well. Additionally, understanding Free Floating principles can help you achieve a more polished and professional finish in your sewing projects.

One-Yard Wonders: 101 Sewing Projects; Look How Much You Can Make with Just One Yard of Fabric!
Country of Origin:US
As an affiliate, we earn on qualifying purchases.
As an affiliate, we earn on qualifying purchases.
Assembling the Basic Structure of Your Bins

To assemble the basic structure of your fabric bin, start by sewing the side rectangles together in a row to form the vertical sides. Confirm your fabric pieces are aligned with right sides facing each other, then sew along the long edges with a 0.5-inch seam allowance. Once the sides are joined, fold the fabric to create a cube shape, matching the corners. Sew across the corner squares to form the base, giving your bin a boxy structure. Repeat this process for both the outer and inner layers separately. Afterward, attach the bottom pieces to complete the sides. This step provides the core framework, setting the foundation for adding support, lining, and finishing details later. Keep your seams straight and consistent for a clean, professional look. Proper seam alignment helps ensure your final product is durable and visually appealing.

Scalloped Baskets Pattern by Poorhouse Designs
This pattern includes instructions to make 3 different scalloped bins (see back cover) using Bosal's pre-cut Scalloped Placemats…
As an affiliate, we earn on qualifying purchases.
As an affiliate, we earn on qualifying purchases.
Adding Support for Shape and Stability
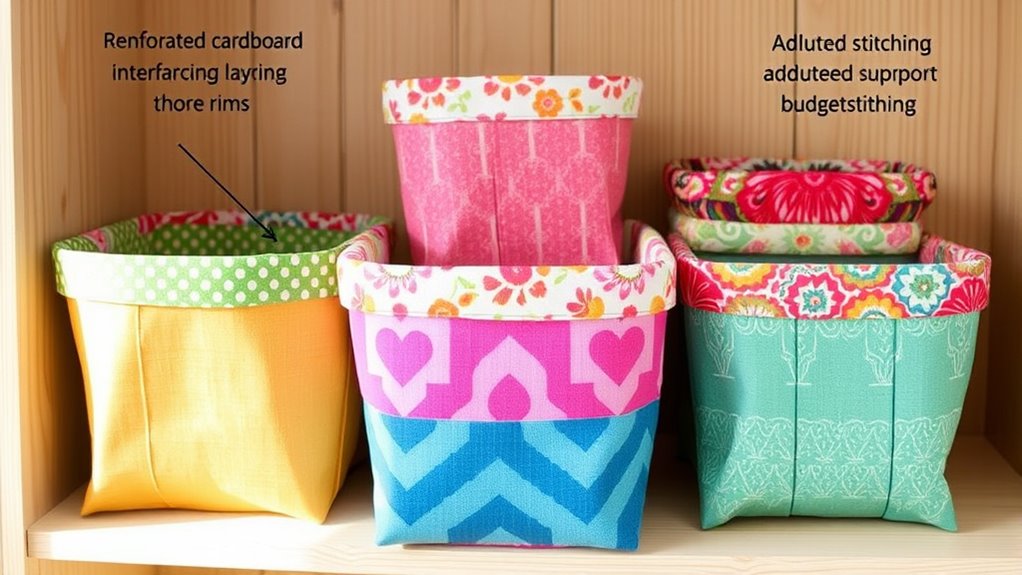
Adding support to your fabric bin helps it maintain its shape and withstand daily use. To do this effectively, consider these techniques:
Enhance your fabric bin’s durability and shape with simple, budget-friendly support techniques.
- Use fusible interfacing or heavy fusible interfacing for added firmness, especially in larger bins.
- Insert cardboard or fusible hard squares into the base and sides for extra stability.
- Quilt the fabric before assembly to enhance stiffness and visual texture.
- Fold and press raw edges under at seams for crisp, clean lines.
- Create a sturdy cuff by folding top edges outward with contrasting fabric for both style and support.
- Incorporate inverter generator knowledge to plan for durable materials that can withstand frequent handling and weight, ensuring your storage solutions are as reliable as a quality portable power source.
These methods ensure your bin holds its shape, remains durable, and looks polished, all while staying budget-friendly and simple to implement.
Personalizing Your Bins With Design Variations
You can personalize your fabric bins by choosing colors and patterns that match your decor or reflect your style. Adding decorative details like embroidery, appliqué, or contrasting trims instantly elevates their look. Experimenting with different fabric combinations and embellishments makes each bin unique and tailored to your space. Incorporating attention to detail through thoughtful design choices further enhances their visual appeal.
Color and Pattern Choices
Choosing the right colors and patterns is key to personalizing your fabric bins and making them fit seamlessly into your space. Bright, bold hues can energize a room, while soft pastels create a calm vibe. Mixing patterns adds visual interest, but keep it balanced by pairing large prints with smaller ones. Use contrasting colors for a striking look or monochromatic tones for subtle elegance. Consider your existing décor to select complementary shades. Incorporating at-home beauty technology principles, such as balanced design elements, can help create a cohesive and aesthetically pleasing storage solution. Here are some ideas to inspire you:
- Match fabric colors to room accents or walls
- Use playful prints for kids’ storage
- Combine neutral fabrics for a minimalist style
- Incorporate seasonal or holiday patterns
- Experiment with bold color-blocking or subtle contrasts
Adding Decorative Details
Decorative details instantly elevate plain fabric bins, allowing you to personalize them to match your style. You can add contrast stitching or decorative topstitching along the edges for a polished look. Applying fabric paint or markers lets you create custom designs, patterns, or labels directly on the fabric. Embroidered accents, whether hand-stitched or machine-made, add texture and a handcrafted touch. Attach decorative trims like lace, ribbon, or pom-pom edges for a playful vibe. You might also sew on fabric appliqués or patches to give your bin a unique character. Using contrasting fabric for the top cuff or handles adds visual interest. These simple embellishments turn basic storage into a fun, personalized piece that complements your decor and showcases your creativity.
Tips for Budget-Friendly Materials and Techniques
To create budget-friendly fabric bins and baskets, start by repurposing inexpensive or leftover materials. You can turn old sheets, curtains, or scrap fabrics into sturdy storage solutions. Using thrifted or discounted fabrics helps save money while adding unique designs. Consider these tips to keep costs low:
- Use leftover fabric scraps or fat quarters for smaller bins
- Repurpose cardboard boxes as a stiff base inside your fabric bins
- Opt for fusible interfacing instead of bulky padding to add structure
- Sew multiple small bins from inexpensive fabrics for versatile storage
- Choose simple shapes and sizes to minimize fabric waste and complexity
Step-by-Step Guide to Sewing Your Fabric Bins
Sewing your fabric bins begins with gathering all your materials and preparing your workspace. Lay out your fabrics, interfacing, cardboard inserts, and sewing tools. Measure and cut your outer and inner fabric pieces, including the base and corner squares. Use the table below to organize your steps:
| Step | Action | Tip |
|---|---|---|
| 1 | Sew side rectangles | Form the sides of the bin |
| 2 | Box the corners | Sew across corner squares for shape |
| 3 | Attach the base | Sew the bottom piece to the sides |
| 4 | Insert lining | Place right sides together, sew top edge |
| 5 | Finish edges | Turn inside out, press, and topstitch |
| 6 | Add structure | Insert cardboard or interfacing |
Following these steps carefully can help you create sturdy, professional-looking fabric bins on a budget, and understanding the benefits of curiosity can even inspire your creative process.
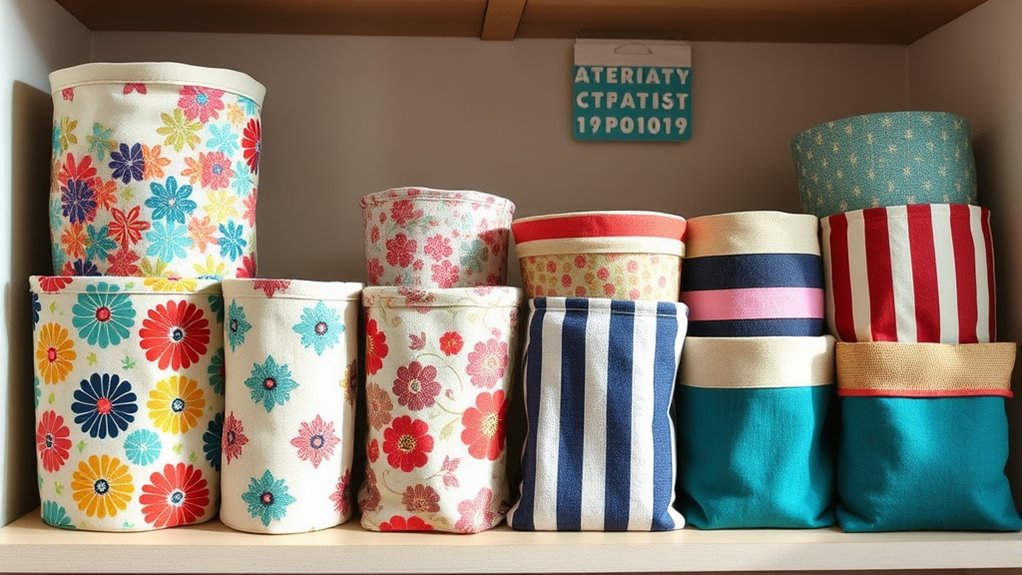
Creative Ways to Use and Decorate Your Storage Bins
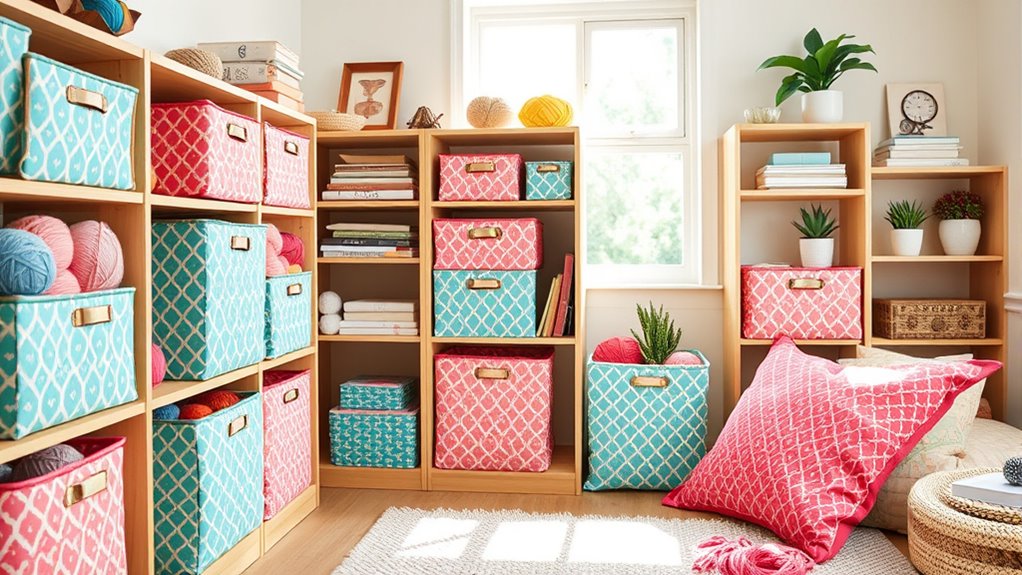
Once you’ve crafted your fabric bins, the possibilities for using and decorating them are virtually endless. You can personalize your bins to match your decor or make them stand out. Try these creative ideas:
- Add fabric or ribbon trims along the edges for a pop of color and texture
- Attach decorative labels or tags to easily identify contents
- Use fabric paint or embroidery to create custom patterns or initials
- Incorporate contrasting handles or cuffs for visual interest
- Sew on small pockets or compartments for extra organization
These touches can transform simple storage into stylish accents. Mix and match fabrics or experiment with patterns for a unique look. Whether for toys, linens, or craft supplies, your personalized bins will enhance your space and make organization more fun.
Frequently Asked Questions
Can I Use Waterproof or Water-Resistant Fabrics for Storage Bins?
Yes, you can use waterproof or water-resistant fabrics for storage bins. They’re great for protecting your belongings from moisture and spills. Just guarantee you choose fabrics that are sturdy and suitable for sewing, like treated canvas or coated cotton. Keep in mind, waterproof fabrics may be more challenging to sew, so use the right needle and adjust your sewing tension accordingly. This way, your bins stay durable and functional.
How Do I Ensure My Fabric Bin Is Machine Washable?
Think of your fabric bin as a sponge that needs to stay fresh. To guarantee it’s machine washable, choose fabrics labeled as washable or pre-wash your fabric before sewing. Use durable thread and secure all seams tightly. Avoid using delicate or decorative fabrics that might fray or fade. Add a water-resistant coating if needed, but test it first. Regularly clean your bin to keep it looking new and functioning well.
What Are the Best Methods for Reinforced Handles?
To reinforce your handles, sew them with triple stitching or a box stitch pattern for added strength. Use cotton webbing or sturdy fabric strips, and attach them securely to the basket’s sides with reinforced stitches, especially at stress points. Consider sewing additional bar tacks or zigzag stitches over the handle attachments for extra durability. Make sure handles are wide enough for comfort and securely anchored to withstand regular use.
How Can I Make My Fabric Bin Collapsible for Storage?
Imagine your fabric bin effortlessly folding flat as you lift it—making storage a breeze. To achieve this, sew the sides with a slight curve or leave the seams loose at the top, so it collapses easily. Use lightweight, flexible fabrics and avoid heavy interfacing on the sides. When not in use, simply fold it down, and it’ll be compact and ready to store anywhere, saving space effortlessly.
Is It Possible to Add a Lid to My Fabric Basket?
Yes, you can add a lid to your fabric basket. Measure the opening, then cut a fabric piece slightly larger to allow for seams. Sew a border or a hinge on one side if you want it attached. Use fusible interfacing for sturdiness, and add handles if desired. Fit the lid snugly, or attach it with small hinges or velcro for easy removal, giving your basket a finished look.
Conclusion
Creating your own fabric bins is a cost-effective way to organize and personalize your space. Did you know that DIY storage solutions can save you up to 50% compared to store-bought options? By choosing affordable fabrics and simple techniques, you’ll not only save money but also craft unique pieces that reflect your style. So, get sewing and enjoy the satisfaction of custom storage that’s both functional and budget-friendly!