To organize your cables using a shoe box and toilet paper rolls, start by choosing a sturdy shoebox and removing any branding. Inside, cut toilet paper rolls into different heights to create dividers, which help separate chargers, USBs, and power cords. Punch holes in the box sides for cable exits and reinforce with grommets if desired. Decorate the exterior, label compartments, and customize to suit your style—all simple steps that make your cable chaos more manageable. Keep exploring for detailed tips and tricks.
Key Takeaways
- Use a sturdy shoebox turned inside out as a customizable outer container for organizing cables.
- Cut and arrange toilet paper rolls inside the box to create individual compartments for different cables.
- Drill or cut exit holes in the box for cables to pass through, reinforcing edges with grommets for durability.
- Label each compartment with clear, waterproof tags or stickers for quick identification of cables.
- Decorate the outside of the box with contact paper or paint to match your space and protect the organizer.
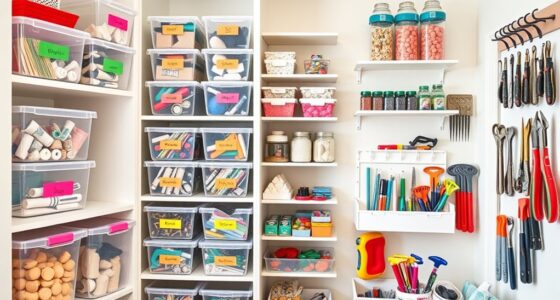
Gathering Materials and Preparing Your Shoebox

To start organizing your cables, you’ll need to gather a few simple materials. First, find a sturdy shoebox, preferably with a lid, to serve as your storage container. You might want to turn it inside out to remove branding and give it a cleaner look. Collect some wrapping paper or decorative contact paper if you plan to personalize the exterior later. Grab scissors, a ruler, and a pencil for measuring and marking where you’ll cut. If you want to reinforce your cable exit points, gather some metal rings or grommets. Keep your cables, chargers, and any extra accessories nearby. Once everything’s assembled, clear your workspace to make the process smooth and efficient. Having all materials ready will set a solid foundation for your cable organization project. Additionally, considering contrast ratio and color accuracy can help you better understand how to optimize your home theater setup for the best viewing experience.
Creating Dividers With Toilet Paper Rolls
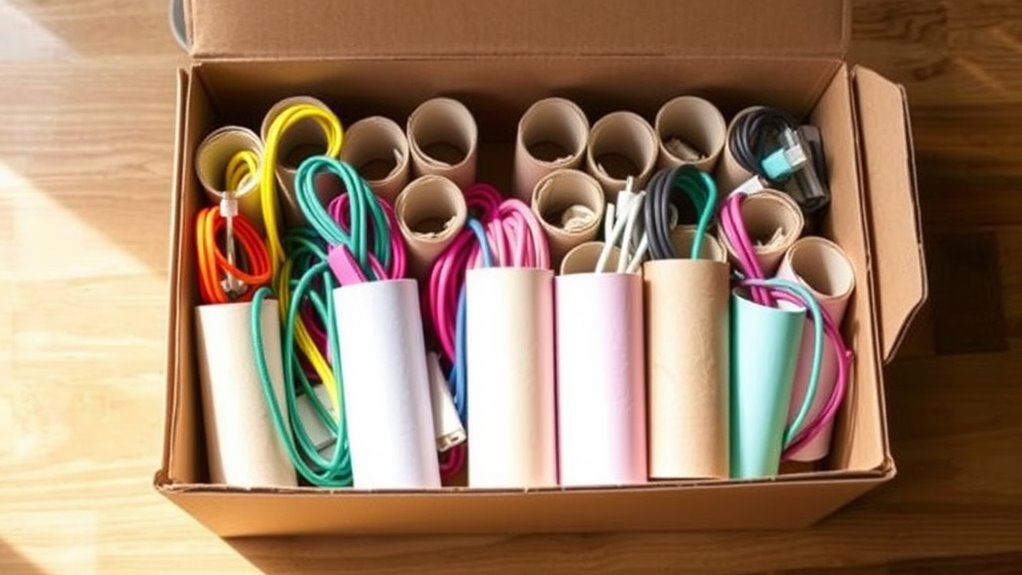
Start by cutting your toilet paper rolls to the appropriate heights based on your storage needs. Then, carefully arrange the dividers inside your shoebox, ensuring they fit snugly and create separate compartments. Proper placement helps keep your cables organized and prevents tangling. Incorporating DIY backyard transformation essentials like outdoor storage solutions can also improve your overall organization space.
Cutting Toilet Paper Rolls
Cutting toilet paper rolls into different heights is a simple way to create custom dividers for your cable organizer. First, choose the rolls you want to use and decide on the heights needed for your compartments. Use a sharp utility knife or scissors to carefully cut each roll to the desired length. Keep your fingers clear of the blade and make slow, controlled cuts for safety and accuracy. Cutting rolls into varied heights helps you customize the space for different cable types, ensuring larger chargers or adapters have their own dedicated sections. Once cut, you can smooth any rough edges with a bit of sandpaper or by gently pressing the edges. This simple step lets you tailor your dividers to match your storage needs perfectly. Additionally, ventilation considerations can help prevent overheating of stored electronic devices in your organizer.
Arranging Dividers Properly
Once you’ve prepared your toilet paper roll dividers, the key to an organized cable storage system is arranging them correctly inside the shoebox. Start by measuring the box’s length and width to determine how many dividers you can fit. Place the rolls vertically or horizontally, depending on your preferred layout, ensuring they’re evenly spaced. Notches cut into the rolls will hold them securely in place, so position each notch at regular intervals for stability. Leave some space between dividers for larger cables or adapters. Make sure to align the openings of the rolls to facilitate easy access and prevent tangling. This careful arrangement keeps cables separated, visible, and accessible, transforming your shoebox into a tidy, efficient cable storage system. Proper cable management not only keeps your space organized but also helps prevent damage and makes locating specific cables quick and easy.
Cutting and Installing Cable Exit Points

To create functional cable exit points in your organizer, carefully plan where the cables will exit to guarantee easy access and minimal strain on the cords. Decide on the most convenient sides for plugging in devices, and mark the spots before cutting. Use a sharp utility knife or scissors to make clean, precise holes, ensuring they are large enough for cables but not overly wide. Reinforce the edges with metal rings or grommets to prevent tearing and protect wires. Proper placement minimizes tangling and makes connecting or disconnecting cables quick and simple. Here’s a visual idea for planning your exit points:
| Side | Cable Type | Hole Size |
|---|---|---|
| Front | Power | 2cm |
| Side | USB | 1.5cm |
| Back | Ethernet | 2.5cm |
| Top | Auxiliary | 1.5cm |
| Bottom | Power Strip | 3cm |
Implementing sustainable design principles ensures that your DIY cable organizer remains durable and eco-friendly, aligning with environmentally conscious practices.
Customizing the Exterior for Style and Durability

Enhancing the exterior of your cable organizer not only boosts its visual appeal but also increases its durability. You can customize it easily with simple materials and techniques. Consider applying wrapping paper or decorative contact paper to give it a fresh look and added protection. Reinforce the edges with clear tape or corner protectors to prevent tearing over time. Adding grommets or metal rings around cable exit holes strengthens these points against wear. You might also paint or spray the outside with a durable finish for a sleek, personalized touch. Additionally, cut-out handles or grips make carrying easier and prevent damage from frequent use. Incorporating material selection considerations ensures your organizer remains sturdy and long-lasting. These modifications help your organizer look stylish and last longer, keeping your cables safe and your workspace tidy.
Organizing Cables and Chargers Inside the Box
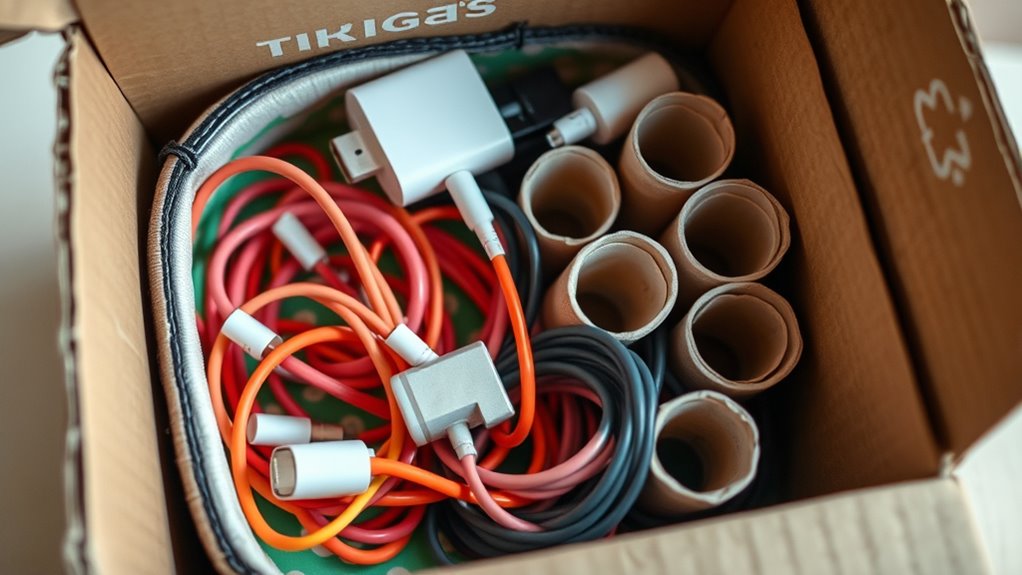
Start by placing your cables and chargers into the box, using dividers like toilet paper rolls to keep them separated and prevent tangling. Then, arrange the dividers carefully to maximize space and stability, making sure each cable has its own slot. Finally, add labels or color codes to each compartment so you can quickly find what you need without rummaging. To ensure your organization is durable, consider reinforcing the dividers with tape or additional cardboard. Youngster Choice
Efficient Divider Placement
Proper divider placement is essential for maximizing storage efficiency and keeping your cables organized. You want each section to hold specific cables or chargers without mixing or tangling them. To do this effectively:
- Measure your box and divide it into sections that fit your cable types and sizes.
- Position TP roll dividers at regular intervals, ensuring each one is stable and secure.
- Use notches or slots on the dividers to lock them in place, preventing shifting.
- Leave enough space for larger chargers or bulky cables, creating dedicated compartments.
- Remember that understanding cable organization techniques can help you optimize space and prevent damage to your cords.
Labeling for Quick Access
Organizing your cables and chargers becomes much easier when you add labels to your shoebox compartments. Labels help you quickly identify what’s inside without opening each section, saving time and frustration. You can create simple handwritten tags, print labels, or use color-coded stickers for visual cues. Attach labels to the outside of the box or on the lid for easy visibility. For added convenience, consider using label holders or cut-out sections on the lid to hold the labels securely. Keep labels specific—such as “Phone Charger” or “HDMI Cables”—to avoid confusion. Proper labeling ensures that when you need a particular cable or charger, you can find it instantly, keeping your space tidy and your workflow smooth. Incorporating organization principles can further improve your storage system and maintain order over time.
Labeling Compartments for Easy Identification

Labeling your cable compartments makes it easy to quickly find the charger or cord you need without opening every section. Clear labels save time and reduce frustration, especially when dealing with multiple cables. Use simple, legible text or icons to identify each compartment. Consider these tips:
- Write labels on sticky notes or tape for easy updates
- Use waterproof markers for permanent labels
- Attach labels to box lids or sides for visibility
- Color-code labels to match specific devices or categories
- Incorporate labeling best practices to ensure your labels remain clear and durable over time.
Tips for Personalizing and Expanding Your Cable Storage

Personalizing your cable storage allows you to match your space’s style and make the system more enjoyable to use. Start by choosing wrapping paper or contact paper that complements your décor, adding a touch of personality. You can also decorate the outside with stickers or labels to identify contents quickly. To expand your setup, select larger shoeboxes or stack multiple units vertically, creating more storage without taking up extra space. Incorporate different-sized compartments for various cable types or bulky adapters. Adding handles or cutouts makes access easier, especially if you need to move or rearrange your system. Monitoring market trends such as Bitcoin holdings can provide insight into broader financial shifts that may influence your investment strategies. Remember, customizing your storage helps it blend seamlessly into your workspace and keeps your cables organized, accessible, and tailored to your needs.
Frequently Asked Questions
How Do I Prevent Cables From Tangling Inside the Box?
To prevent cables from tangling inside the box, you should use toilet paper rolls as dividers to keep each cable separate. Wrap each cable neatly and place them in individual compartments, ensuring they stay coiled and organized. Label each section clearly, so you can easily find what you need without rummaging through tangled wires. Regularly check and straighten cables to maintain order and avoid knots.
What Materials Are Best for Reinforcing Cable Exit Holes?
Think of your cable exit holes like a delicate bridge that must support heavy traffic. Reinforce them with metal grommets or rings, acting as sturdy guardrails that prevent sharp edges from damaging wires. These materials are like armor, providing durability and safeguarding your cables. By installing metal reinforcements, you ensure smooth, safe exits for your cords, extending their lifespan and keeping your organization sleek and secure.
Can This Organizer Accommodate Large Power Adapters?
Yes, this organizer can accommodate large power adapters. You should choose a larger shoebox and customize the compartments to fit bulky plugs. Cut wider or taller dividers, or add extra space inside the box. Reinforce the cable exit holes with metal rings or grommets to prevent damage from thick adapters. By adjusting the size and shape, you guarantee your large power adapters stay organized and easily accessible without crowding other cables.
How Do I Maintain the Organizer Over Time?
You might worry your organizer will get cluttered, but regular maintenance keeps it tidy. To do this, periodically remove cables, wipe down the box, and check dividers for damage. Reorganize or replace damaged sections as needed. Labeling helps you quickly identify cables, preventing unnecessary disturbance. With simple upkeep, your organizer stays functional and neat, ensuring your workspace remains clutter-free and your cables stay protected over time.
Is There a Way to Waterproof or Weatherproof the Box?
Yes, you can waterproof your organizer by applying a clear waterproof sealant or spray on the exterior. Make sure to cover all surfaces evenly and allow it to dry completely before use. You could also line the inside with waterproof material like plastic or a tarp for added protection. Just confirm any modifications don’t block cable holes or vents, so your cables stay dry and functional in different weather conditions.
Conclusion
With your DIY cable organizer, you’ve turned chaos into harmony—like a symphony conducted with simple tools. This project isn’t just about tidying wires; it’s about reclaiming space and peace of mind. As you personalize and expand your organizer, remember that each twist of a toilet paper roll and each label adds character to your clutter-free haven. Embrace the craft, for in your hands lies the power to tame the wild wires of everyday life.