Start by measuring your drawer and planning how many sections you need. Use recycled, sturdy cardboard and mark your cuts with a ruler and pencil. Carefully cut out your pieces with a sharp utility knife, then assemble and glue them securely inside the drawer. Reinforce edges with extra layers for durability. For a polished look and extra stability, add decorative touches or non-slip pads. If you keep going, you’ll discover all the tips to make your organizers long-lasting and stylish.
Key Takeaways
- Measure your drawer dimensions and sketch a layout for the custom cardboard dividers.
- Use a sharp utility knife and ruler to cut sturdy, precise pieces from recycled cardboard.
- Assemble sections securely with strong adhesive like hot glue, ensuring proper alignment before drying.
- Reinforce edges and joints with additional layers or glue for enhanced durability.
- Customize and stabilize the dividers with decorative touches or non-slip pads for a polished look.
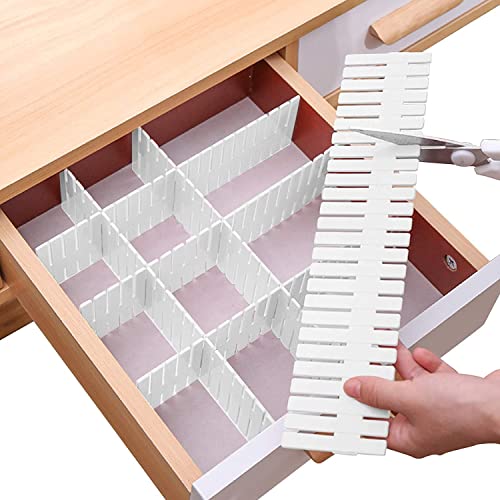
Bofoho Drawer Divider Adjustable DIY Storage Organizer Separator for Tidying Clutter Cutlery Underwear Socks Clothes Dresses Desk & Box in Kitchen Bathroom Bedroom Office (Cut at Will)
【Versatile & Multi-Purpose】: Each plastic drawer divider is approximately 12.51 inches in length and 2.67 inches in height…
As an affiliate, we earn on qualifying purchases.
As an affiliate, we earn on qualifying purchases.
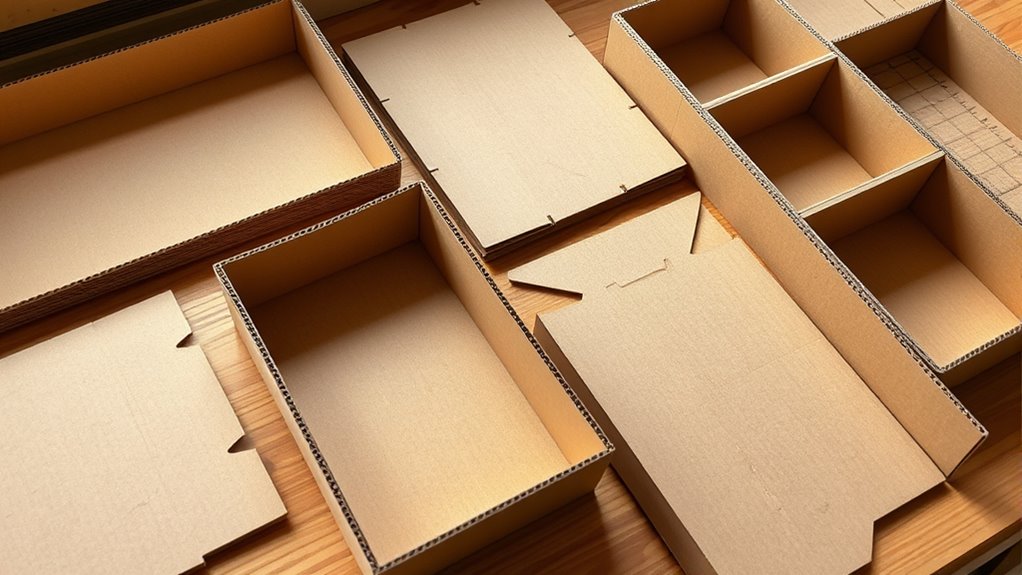
Gathering Materials and Tools
To start making your DIY drawer dividers, you’ll need to gather a few basic materials and tools. Recycling cardboard is a great eco-friendly choice, so look for sturdy boxes from packaging or shipping supplies. You’ll also want a ruler or measuring tape to ensure precise cuts, along with a utility knife or scissors for shaping the cardboard. Double-sided tape or craft glue will help hold the dividers together securely. Don’t forget a pencil for marking measurements. Choosing eco-friendly materials not only reduces waste but also creates a sustainable organizer. Incorporating material durability considerations ensures your custom dividers will last over time. Additionally, selecting materials with good color accuracy can help in creating visually appealing and consistent compartments. Considering recyclability of your chosen materials can further enhance the eco-friendliness of your project. Using sustainable materials can also contribute to reducing your environmental impact. For added strength, layering or reinforcing the cardboard with other recycled materials can improve structural integrity. With these simple materials, you’re ready to start crafting your custom, eco-friendly drawer dividers.
Box Caddy – Cardboard Recycling Organizer. The ultimate solution to store, transport, and recycle your boxes. Eliminates cardboard clutter. (Black/White)
Box Caddy is the ultimate solution to easily store, transport, and recycle cardboard boxes
As an affiliate, we earn on qualifying purchases.
As an affiliate, we earn on qualifying purchases.
Measuring Your Drawer and Planning Dividers

How do you guarantee your drawer dividers fit perfectly? Start by measuring your drawer dimensions carefully—length, width, and depth. Consider your storage needs to decide how many sections you’ll need. Sketch a simple plan to visualize the layout. Think about what items you’ll store and where they should go. Use a tape measure for accuracy, and record measurements precisely. To ensure your dividers are both functional and safe, pay attention to safe installation practices that prevent shifting or damage. Proper planning can also help you avoid hidden costs associated with trial and error. Remember, a well-planned layout saves time and frustration later. Additionally, understanding market trends and insights can help you choose materials that are both durable and suitable for your needs. Here’s a quick example:
| Item | Length (in) | Width (in) |
|---|---|---|
| Silverware | 8 | 2 |
| Utensils | 12 | 3 |
| Small Items | 10 | 4 |
Planning ahead ensures your cardboard dividers will fit snugly and meet your storage needs perfectly. For added stability, consider jewelry materials that are lightweight and durable, ensuring your dividers stay intact during use.

Practical Comfort Custom Drawer Organizer 6 Adjustable Aluminum Dividers, Gray – For Kitchen, Bathroom, Office, and More
Adjustable Telescopic Dividers: Easily adjust the dividers to fit your drawer perfectly, creating customizable compartments for items of…
As an affiliate, we earn on qualifying purchases.
As an affiliate, we earn on qualifying purchases.
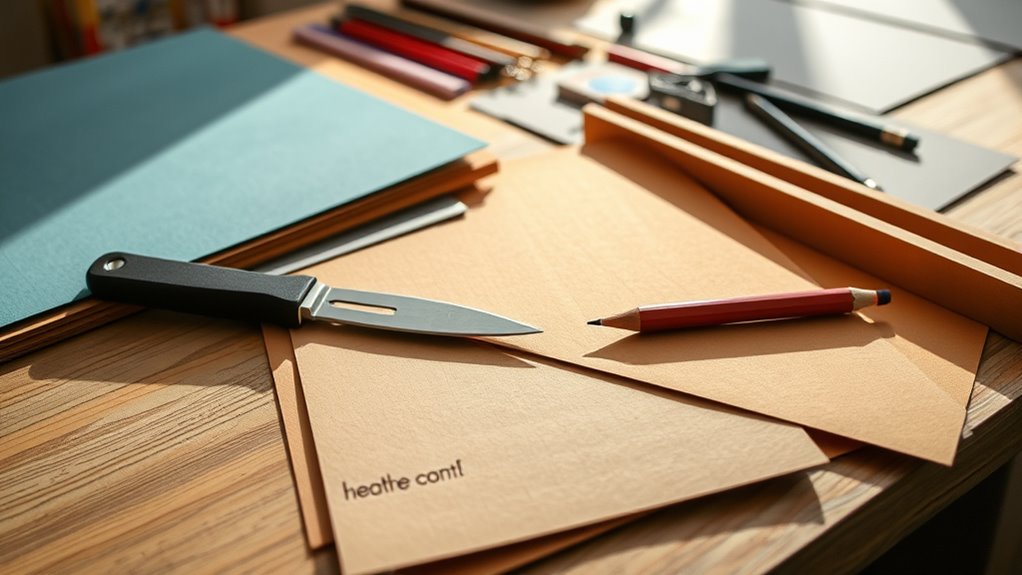
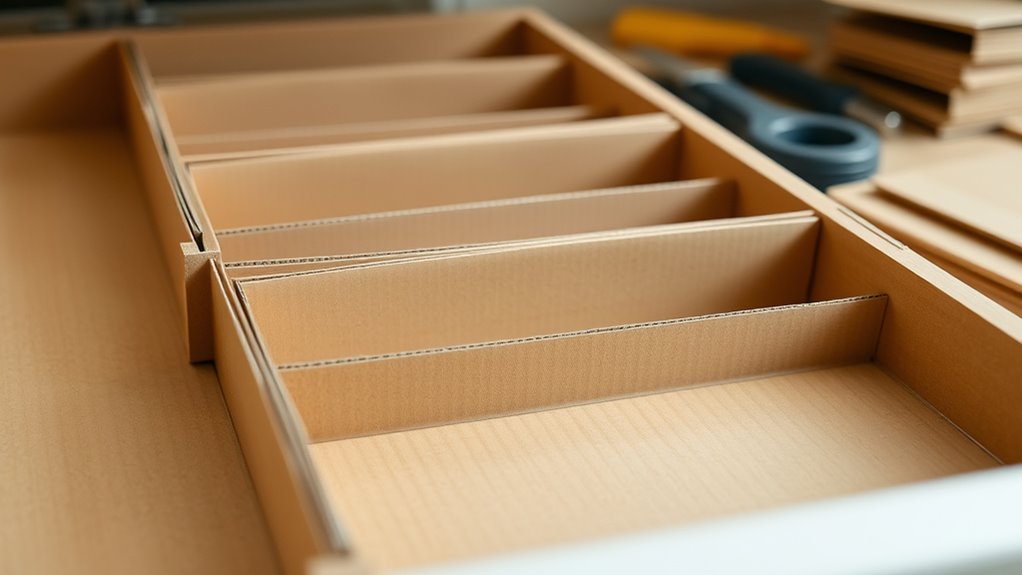
Cutting and Shaping Your Cardboard Pieces
Start by carefully measuring and marking your cardboard pieces to match your drawer sections. Use a ruler and pencil to make sure your lines are straight and accurate. Then, cut along your marks with a sharp utility knife, making clean, precise shapes for a perfect fit. Ensuring your cuts are exact can help create custom organizers that are both functional and visually appealing. Taking your time during this step can also prevent mistakes that might compromise the stability of the dividers. Practicing precise cutting techniques can also enhance your overall craftsmanship skills, and understanding how to measure and cut accurately can contribute to designing more efficient storage solutions.
Measuring and Marking
Begin by gathering your cardboard pieces and a measuring tape or ruler. Measure the dimensions needed for each divider, accounting for the space in your drawer and any decorative accents you want to add later. Use your ruler to mark precise lines where you’ll cut, ensuring clean, straight edges. If you prefer, you can consider alternative materials like foam board or thin plywood for a sturdier finish, but cardboard remains versatile and easy to work with. When marking, be careful to double-check measurements to avoid mistakes that could affect the fit. Use a pencil or light marker to make your lines visible but easy to erase later. Accurate measuring and marking set the foundation for a well-fitting, functional organizer.
Cutting Precise Shapes
Have you considered the best way to cut your cardboard pieces accurately? Precision accuracy is key to creating professional-looking dividers. Use a sharp utility knife or craft blade, and work on a stable surface. Always follow safety precautions: wear cut-resistant gloves and keep your fingers clear of the blade’s path. To improve precision, use a ruler or straightedge as a guide for straight cuts. For curves or intricate shapes, a craft compass or stencil helps maintain consistency. Here’s a quick overview:
| Cutting Tool | Purpose |
|---|---|
| Utility Knife | Straight and precise cuts |
| Craft Scissors | Curves and detailed shapes |
| Ruler/Guide | Ensures accuracy in straight lines |
| Stencil/Template | Repeats shapes uniformly |
Following these steps guarantees clean, accurate cuts every time.
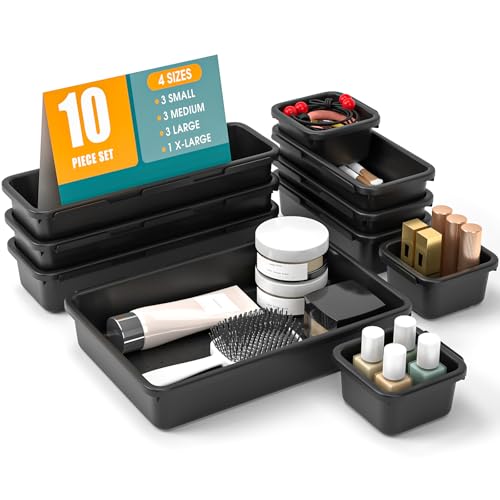
StoreHappily 10 PCS Drawer Organizer Set, 4 Size Makeup Drawer Divider Organizer With Non-Slip Pads, Interlocking Plastic Storage Bins for Office,Jewelry Vanity,Gadgets, Bathroom,Kitchen, Black
Premium Material: Our drawer organizer boxes are constructed with premium, strong, impact-resistant plastic that ensures safe and long-lasting…
As an affiliate, we earn on qualifying purchases.
As an affiliate, we earn on qualifying purchases.
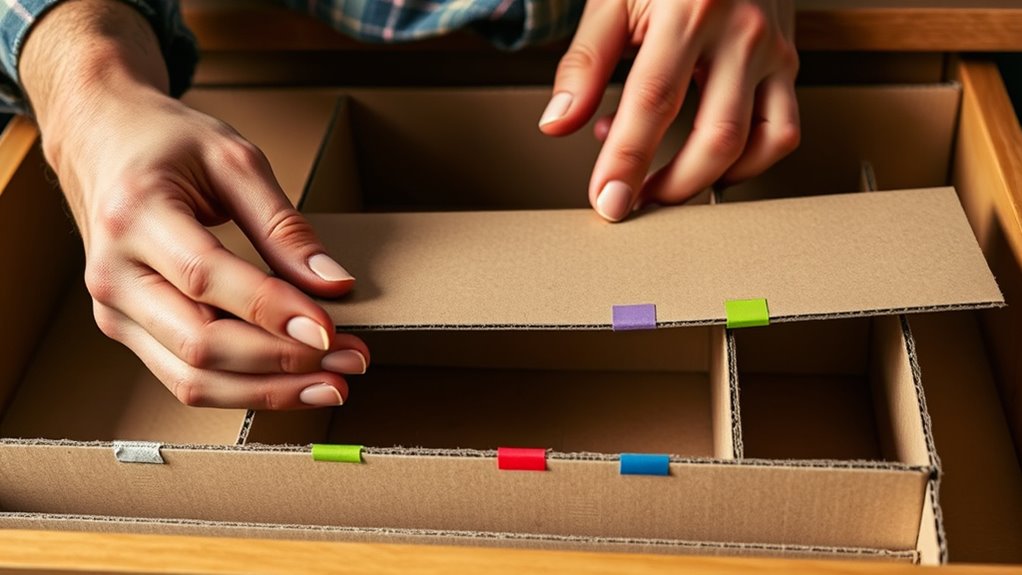
Assembling the Divider Sections
Now that your cardboard pieces are ready, it’s time to assemble the divider sections. Make certain you cut the pieces accurately to fit your drawer, and then connect them firmly. Securing each section properly ensures your dividers stay in place and stay sturdy over time. Properly managing your materials helps prevent future disassembly or shifting of the dividers. Additionally, incorporating local automation techniques can help streamline your organization process and reinforce the stability of your DIY dividers. Consider natural floating methods or other creative reinforcement techniques to keep the dividers secure.
Cutting Divider Pieces
Wondering how to cut your divider pieces accurately? First, consider the cardboard thickness—thicker cardboard needs sharper, stronger cutting tools. Use a ruler and pencil to mark precise measurements, ensuring your pieces fit perfectly. When cutting, choose tools like a craft knife or box cutter for clean, straight edges. Keep your workspace steady and press firmly to avoid jagged cuts. For better control, cut slowly and follow your marked lines carefully. Remember to measure twice before cutting once to prevent mistakes. Your cuts should be smooth and consistent, so your divider sections fit seamlessly. Paying attention to cutting techniques can improve your accuracy and safety during the process. Additionally, understanding material properties can help select the best tools and methods for your specific type of cardboard. Proper blade maintenance also plays a crucial role in achieving precise cuts and extending tool life.
Assembling Sections Securely
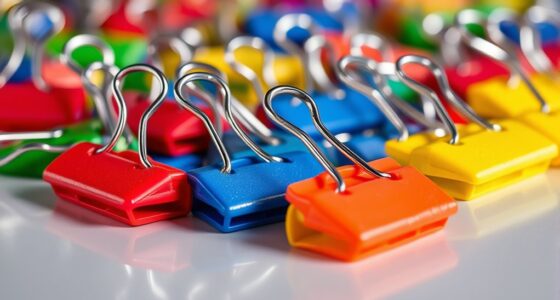
How can you guarantee your divider sections stay firmly in place? The key is choosing the right adhesive options to assure maximum divider stability. Use a strong, quick-drying glue such as hot glue or craft adhesive that bonds cardboard securely. Apply the adhesive evenly along the edges where the sections connect, pressing firmly to eliminate gaps. For added stability, consider reinforcement methods like small brad nails or double-sided tape in conjunction with glue. Make sure the sections are aligned properly before the adhesive sets. Allow ample drying time to prevent shifting. Proper assembly with the right adhesives not only keeps your dividers sturdy but also extends their lifespan, making your custom organizer both functional and durable. Incorporating home safety & accessibility principles can help ensure your DIY organizers remain secure and safe for everyday use. Using adhesive compatibility knowledge can further improve the strength of your connections and prevent future damage. Additionally, selecting adhesives that are safe for household use can help maintain a healthy environment around your DIY projects. To enhance longevity, consider researching environmentally friendly adhesives that are both effective and safe. Understanding proper storage and handling of adhesives can also prevent mishaps and ensure optimal bonding results.
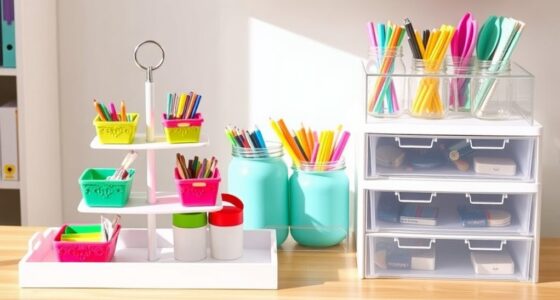
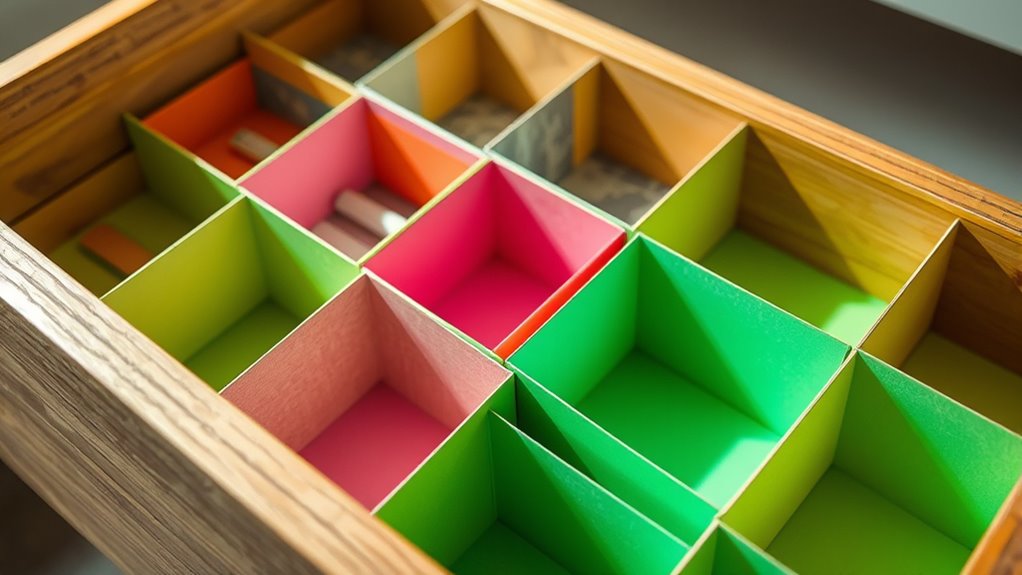
Customizing and Reinforcing Your Dividers
To guarantee your drawer dividers stay sturdy and suit your needs, customizing and reinforcing them is essential. You can add decorative accents like patterned washi tape or paint for a personalized touch. Reinforcing the edges with additional layers of cardboard or hot glue boosts durability. For color coordination, choose paints or markers that match your drawer’s interior or your style. Consider these tips:
- Apply decorative accents such as stickers or washi tape
- Use paint or markers to add color or patterns
- Glue extra cardboard layers to strengthen weak points
- Seal painted surfaces with clear varnish for longevity
- Attach non-slip pads underneath for stability
- Incorporate structural reinforcement techniques to ensure your dividers last longer and withstand daily use. Understanding material strength can help you select the best reinforcement methods for your specific needs.
These enhancements not only improve sturdiness but also let you tailor the dividers to your aesthetic, making your drawer both functional and visually appealing.
Placing and Adjusting Dividers in Your Drawer
Once your dividers are customized and reinforced, it’s time to place them within your drawer. To guarantee divider stability, position each piece carefully, making sure they fit snugly without wobbling. Check drawer compatibility by testing how well the dividers sit against the sides and bottom of your drawer. Adjust the placement as needed, sliding dividers to create compartments that suit your items. If any divider feels loose, add small supports or tweak their positioning for added stability. Keep in mind that a well-fitted divider prevents shifting during drawer use, maintaining organization. Take your time to align everything properly so each divider stays securely in place, giving you a customized, functional storage solution.
Tips for Maintaining and Updating Your Organizers

Regular maintenance keeps your drawer organizers functioning smoothly and looking their best. To extend their material lifespan and keep things tidy, develop simple organizational habits like regularly removing items to wipe down dividers and checking for damage. When updating, consider resizing or adding new compartments as your needs change. Keep a small box of supplies nearby for quick repairs, such as re-gluing loose pieces or replacing worn sections. Store cardboard dividers in a dry area to prevent warping or molding. Periodically review your setup, removing unnecessary items, and adjusting dividers for peak space. This proactive approach ensures your organizers stay effective, durable, and easy to maintain. With consistent effort, your DIY drawer dividers will serve you well for a long time.
Frequently Asked Questions
How Durable Are Cardboard Drawer Dividers Over Time?
Cardboard drawer dividers aren’t very durable over time, especially when exposed to moisture or heavy use. Their material strength is limited, which raises longevity concerns if you frequently access your drawers or spill liquids nearby. You might find they bend, warp, or wear out faster than plastic or wood options. For long-lasting organization, consider sturdier materials, but if you need a quick, inexpensive fix, cardboard can work temporarily.
Can I Waterproof or Treat Cardboard for Added Longevity?
Your cardboard dividers can survive a hurricane of moisture with the right treatment. Applying a waterproof coating or spray creates a moisture-resistant barrier, considerably extending their lifespan. These coatings prevent water damage and warping, making your organizers more durable. Just make sure you coat them thoroughly and let them dry completely before use. With proper treatment, your DIY dividers will stay sturdy and functional, no matter how wet the environment gets.
Are There Eco-Friendly Alternatives to Cardboard for DIY Dividers?
Yes, you can use eco-friendly alternatives like recycled plastic, bamboo, or cork for your DIY dividers. Recycling options are plentiful, and these sustainable materials are durable and biodegradable. By choosing these options, you reduce waste and minimize environmental impact. They’re easy to work with and offer a stylish, eco-conscious way to organize your drawers without relying on traditional cardboard.
How Do I Prevent Cardboard From Sagging or Bending?
A stitch in time saves nine—so start strong to prevent sagging. To keep your cardboard from bending, use reinforcement techniques like adding cardboard strips or wooden dowels along the edges. Also, apply moisture protection with a sealant or clear spray to prevent warping. These steps help your dividers stay sturdy and last longer, even under pressure, ensuring your organization stays neat and functional over time.
Can I Customize Dividers for Irregular or Oddly Shaped Drawers?
Yes, you can customize dividers for irregular or oddly shaped drawers. Use sturdy cardboard and cut custom shapes that fit your drawer’s unique dimensions. Measure precisely and create templates for irregular sizes or shapes, then cut the cardboard accordingly. You can also layer or reinforce sections to maintain stability. This approach allows you to craft tailored dividers that maximize space and keep your items organized effectively.
Conclusion
Creating your own cardboard drawer dividers is a simple and budget-friendly way to organize. Did you know that cluttered drawers can waste up to 30 minutes of your day? By customizing your organizers, you save time and reduce stress. Plus, with just a few supplies, you can transform messy drawers into tidy, functional spaces. Give it a try—your cluttered drawers will thank you!