
To organize your home effectively, use color-coded labels and clear containers for instant recognition and visual appeal. Keep labels simple with bold fonts and match colors to specific categories, like yellow for baking supplies. Seal labels with adhesive or lamination for durability. Implement consistent color schemes across spaces to reinforce organization. Using transparent containers enhances visibility, making it easier to find what you need. Stay tuned, as there’s more to creating a visually organized home efficiently.

Get the little things that make your day delivered free — and shop member deals
- Fast, free delivery on millions of items
- Access to Prime Big Deal Days deals on October 6–7
- Prime Video, Amazon Music and more included
Key Takeaways
- Use durable labels with bold fonts and clear icons for quick, easy identification of stored items.
- Assign specific colors to categories and match label colors for instant recognition.
- Opt for transparent containers to maximize visibility and maintain a clutter-free look.
- Create a consistent labeling system with simple, readable labels for long-term organization.
- Incorporate visual cues like shapes or icons alongside colors to enhance clarity and accessibility.

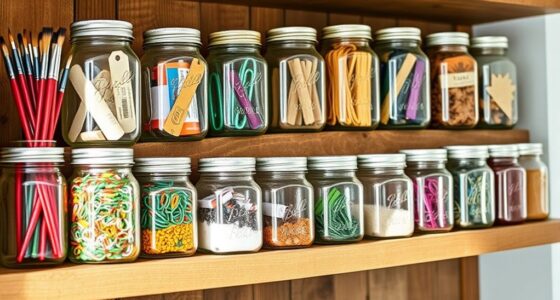
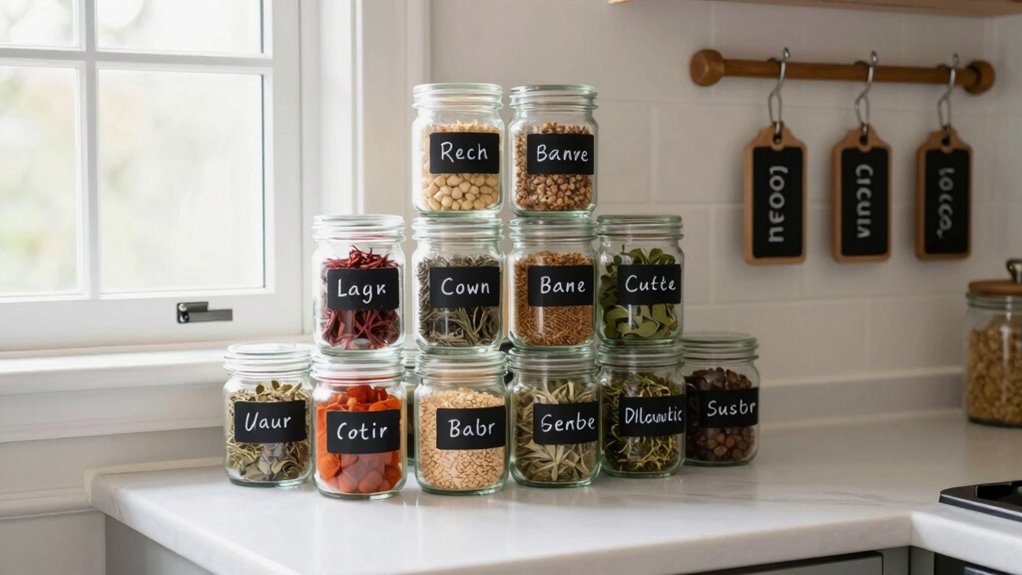
Ever wondered how a simple label can transform your cluttered space into an organized haven? It might seem like a small detail, but with the right techniques, you can make a big difference. One of the most effective methods is using color coding. You can assign specific colors to different categories—like blue for cleaning supplies, red for tools, or green for craft materials. This visual cue helps you identify items instantly, saving you time and reducing frustration. When combined with clear containers, color coding becomes even more powerful. Clear containers let you see exactly what’s inside without opening each one, and when paired with color-coded labels, they create a cohesive, easily navigable system. You might choose transparent bins for your pantry, labeling each with a color that matches the contents—like yellow for baking supplies or purple for snacks. This way, you can quickly grab what you need without rummaging through opaque boxes.
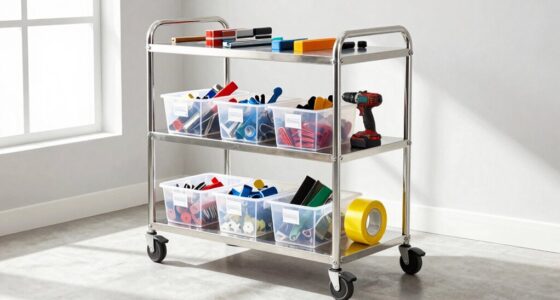
To implement this, start by gathering your clear containers—think jars, bins, or baskets—that suit your storage space. Label each with a clean, durable label featuring your chosen color. You can create your own labels using printable sticker paper or simply write directly onto the containers with a permanent marker. For added durability, consider sealing your labels with a clear adhesive or laminate. When designing your labels, keep the text simple and legible, so you can scan your space at a glance. Use bold or larger fonts for category names, and incorporate the corresponding color for quick recognition. This system works well in kitchens, offices, garages, or even kids’ playrooms. Incorporating visual organization methods like color coding can further enhance your system’s effectiveness. Using consistent color schemes across all storage areas helps reinforce your organization and makes it easier to remember where everything belongs. Additionally, visual cues like shapes or icons can be incorporated to further personalize and clarify the system. Establishing a consistent labeling system ensures that your organization remains intuitive and easy to maintain over time.
Another trick is to keep your color coding consistent across all storage areas. For example, if you decide blue is for cleaning supplies, stick with that everywhere. Consistency helps your brain associate colors with specific categories, making your organization more intuitive over time. Additionally, updating or adding new labels becomes straightforward—just match the existing color scheme. When you use clear containers, you avoid the cluttered look of opaque boxes stacked high, and your entire space feels more open and inviting. This visual clarity encourages you to maintain your organization, as everything is easy to find, access, and put back in its place.
In essence, combining color coding with clear containers is a simple yet effective DIY labeling trick that can revolutionize your home organization. It’s a small effort that yields big results—saving you time, reducing stress, and creating a space that’s both functional and visually pleasing.
durable color-coded label stickers
As an affiliate, we earn on qualifying purchases.
As an affiliate, we earn on qualifying purchases.
Frequently Asked Questions
What Are Eco-Friendly Materials for DIY Labels?
For eco-friendly DIY labels, you should use biodegradable paper, which breaks down naturally and reduces waste. Pair it with recyclable adhesives, so your labels stay in place without harming the environment when disposed of. These materials are safe, sustainable choices that help you stay eco-conscious while organizing your home. You’ll feel good knowing your labeling process supports environmental health and minimizes plastic and chemical waste.
How to Make Waterproof Labels at Home?
Did you know that over 70% of household items get damaged due to water exposure? To make waterproof labels at home, start with a sturdy label design and choose waterproof adhesive types like clear laminate or waterproof tape. Print your labels on waterproof paper or use a laminate sheet to protect your design. Seal the edges well to prevent water from seeping in, ensuring your labels stay intact.
Can DIY Labels Be Removed Easily Without Damage?
Yes, DIY labels with removable adhesive are designed for easy removal without damage. To remove labels smoothly, use gentle label removal techniques like applying heat with a hairdryer to loosen the adhesive or using rubbing alcohol to dissolve it. Avoid harsh scrapers or strong chemicals, as they can damage surfaces. With patience and proper techniques, you can remove your homemade labels effortlessly, keeping your surfaces pristine and your space organized.
What Tools Are Best for Precise Label Application?
For precise label application, you should use a ruler or a squeegee to guarantee straight lines and smooth adhesion. Consider labeling techniques that involve clear, detailed instructions for placement, and choose adhesive types like removable or semi-permanent adhesives for easy removal later. These tools and techniques help you apply labels accurately, preventing wrinkles or misalignment, and make the entire process more efficient and professional-looking.
How to Create Labels That Withstand Humidity?
To create labels that withstand humidity, choose a label with a strong, waterproof label adhesive, guaranteeing it sticks firmly in moist conditions. Use waterproof or weatherproof label paper, and opt for ink that offers high durability against moisture—like oil-based or pigment ink. Applying a clear sealant or laminate over your labels adds extra protection. These steps ensure your labels stay legible and secure, even in humid environments.
clear plastic storage containers with labels
As an affiliate, we earn on qualifying purchases.
As an affiliate, we earn on qualifying purchases.
Conclusion
With these DIY labeling tricks, you’re not just organizing your home—you’re transforming chaos into clarity. It’s the simple act of adding labels that turns clutter into order, chaos into calm. Think of labels as tiny signs guiding you through your space, making everyday routines smoother. So, embrace these easy tips and enjoy a home where everything has its place, proving that sometimes, the smallest details make the biggest difference.
laminated label maker for home storage
As an affiliate, we earn on qualifying purchases.
As an affiliate, we earn on qualifying purchases.
permanent marker for labeling containers
As an affiliate, we earn on qualifying purchases.
As an affiliate, we earn on qualifying purchases.
Halloween Picks
halloween
As an affiliate, we earn on qualifying purchases.