
To organize your kid’s artwork and school papers without tossing treasures, start by categorizing creations based on themes or projects, and involve your child in selecting favorites. Use creative storage like labeled bins, digital scans, or photo books to keep physical clutter manageable. Display rotating artwork and create keepsake albums for special pieces. Setting a routine and involving your child helps teach responsibility and preserves memories. Keep exploring for more ideas on making the process fun and easy.
Key Takeaways
- Involve children in selecting and organizing artwork to foster responsibility and ensure favorites are preserved.
- Use labeled storage bins, folders, and display systems for easy access and rotation of artwork.
- Digitize artwork through scanning or photography to reduce clutter while keeping digital archives.
- Repurpose artwork into gifts, collages, or crafts for meaningful keepsakes without discarding originals.
- Establish regular routines for sorting, storing, and updating collections, making organization a shared, enjoyable activity.
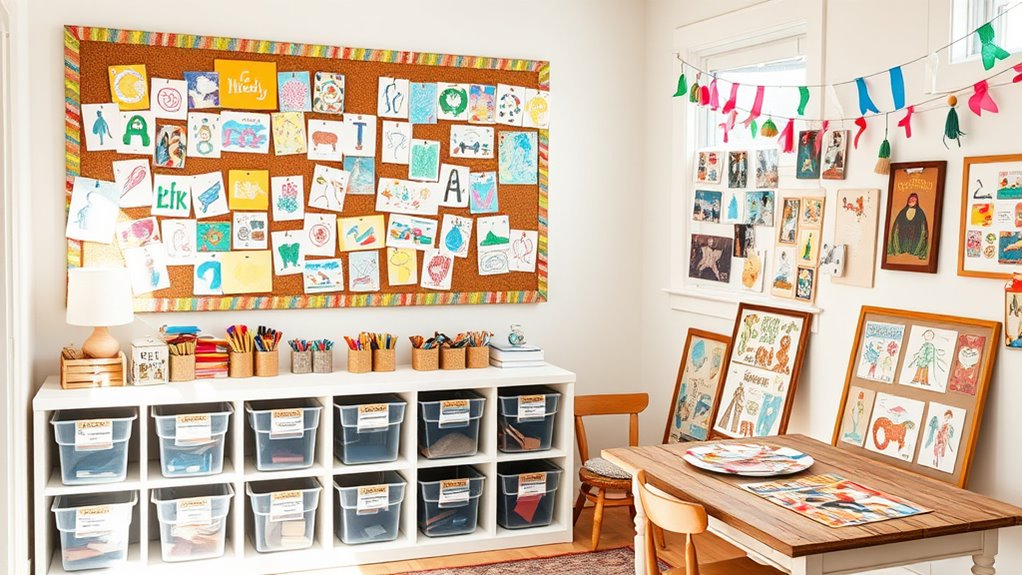
Sorting and Categorizing Your Child’s Creations

When sorting your child’s artwork and school papers, begin by establishing clear categories that reflect their interests and projects. Use thematic categorization to group similar items, such as drawings, paintings, or school reports, making it easier to locate specific pieces later. Consider how each creation inspires your child — some may showcase their favorite hobbies or subjects, so create categories accordingly. This approach not only streamlines the organization process but also highlights artwork inspiration, helping you understand what excites your child most. As you sort, label each category clearly, perhaps using folders or bins, so you can quickly identify and access different types of projects. This method keeps things tidy and ensures treasured creations are preserved without feeling overwhelming. Incorporating Free Floating storage solutions can further optimize space and accessibility within your organization system. Additionally, using labeling techniques can make it even easier to maintain an organized collection over time. Understanding the importance of contrast ratio can also guide you in choosing storage options that keep the artwork visible and vibrant, preventing colors from fading. Paying attention to storage durability ensures that your organization system remains functional and protects your child’s artwork over the years.
Choosing the Right Storage Solutions
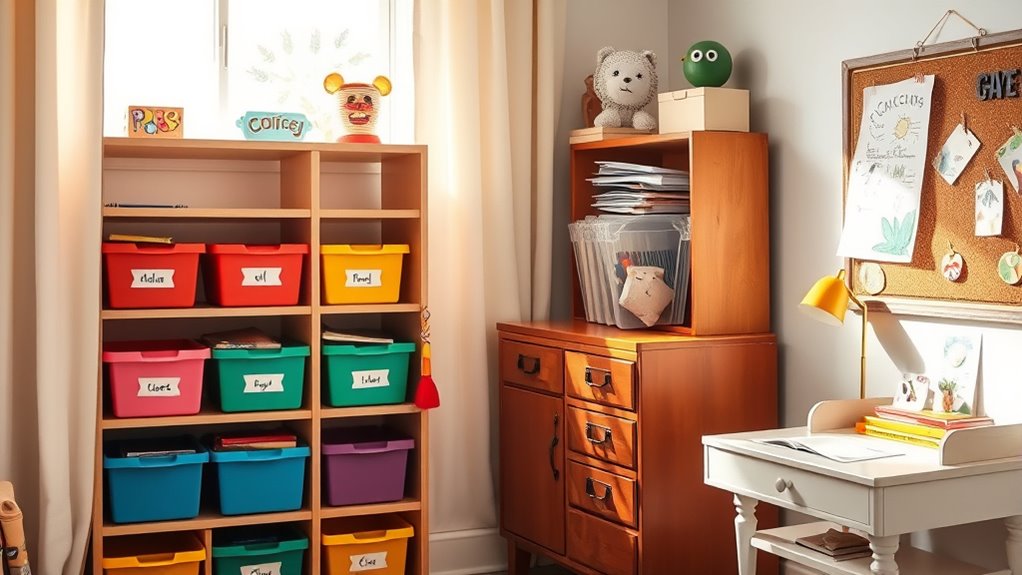
Are you unsure which storage options will keep your child’s artwork and school papers organized and accessible? Choosing the right storage solutions makes a big difference. Consider using durable art storage containers to protect delicate projects while keeping them easy to find. Shelving solutions offer a practical way to display and access ongoing or seasonal artwork without clutter. Look for clear bins with labels so you can quickly identify contents, and opt for adjustable shelving to accommodate various sizes of papers and crafts. Incorporating local automation can also help you create designated digital archives or reminders to revisit and sort through stored treasures periodically. Regularly inspecting and cleaning storage areas ensures that items remain in good condition and prevents the buildup of dust or damage. Additionally, understanding zodiac traits and personalities can help tailor organizational methods to your child’s unique tendencies, making storage even more effective. Exploring deep-sky imaging concepts like field-of-view and imaging-scale can inspire creative ways to display and preserve your child’s artwork, turning clutter into a curated gallery. Applying visualization techniques from astronomy can further enhance how you organize and showcase your child’s creative space. Combining these options helps you maintain order without sacrificing the sentimental value of your child’s creations. With thoughtful storage choices, you’ll enjoy a tidy space where treasures are preserved and easily accessible whenever you want to revisit them.
Creating a Digital Archive of Artwork and Papers

Creating a digital archive makes it easy to preserve your child’s artwork and papers without clutter. You can scan or photograph each piece, then organize the files on your computer or cloud storage. Using cloud solutions guarantees everything stays safe and accessible whenever you need it.
Scanning and Photographing
Digitizing your child’s artwork and school papers is an efficient way to preserve memories without cluttering your home. By scanning or photographing these treasures, you create a digital archive that’s easy to access and share. To make the most of this process, consider these tips:
- Use a flatbed scanner for high-quality images of flat artwork and documents.
- Photograph three-dimensional projects with good lighting and a neutral background.
- Organize your digital files by date or theme to simplify photo organization later.
This approach helps you keep the memories alive while reducing physical clutter. Plus, a well-maintained digital archive makes it simple to enjoy and share your child’s creative journey without losing any precious details.
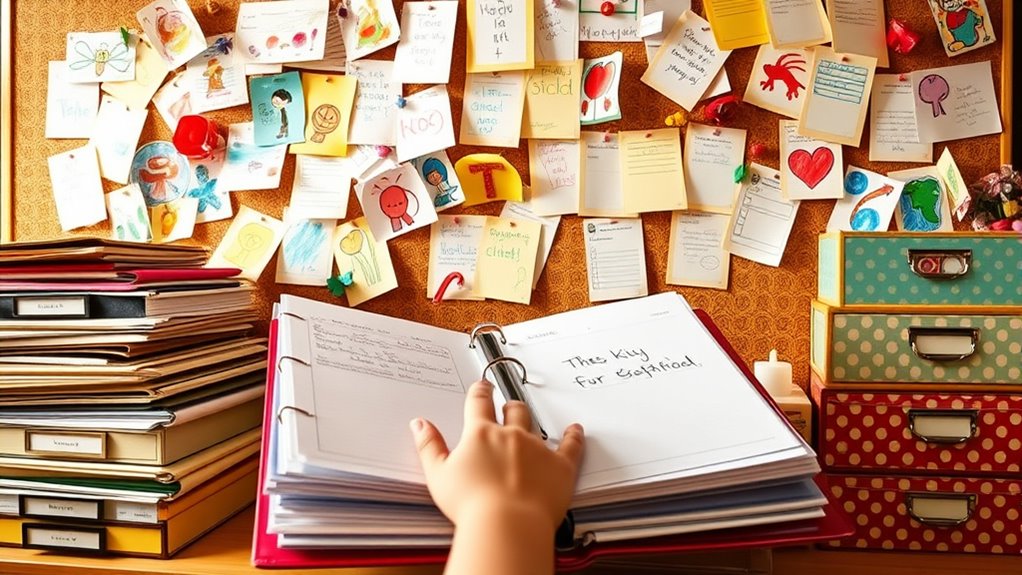
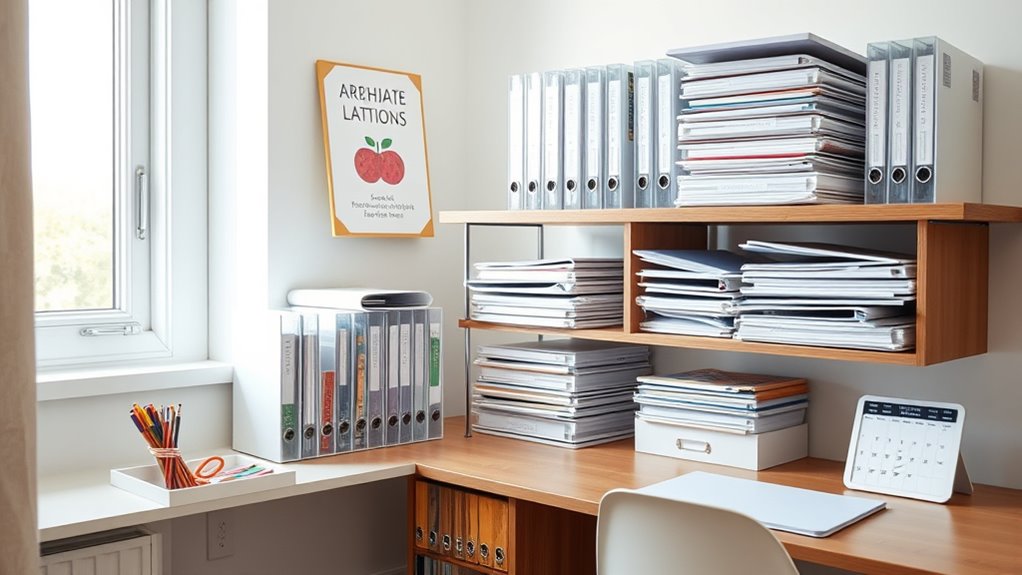
Organizing Files Digitally
Once you’ve scanned or photographed your child’s artwork and papers, organizing these files into a coherent digital archive makes it easy to locate and enjoy the memories later. Start by establishing consistent file naming conventions, such as including the date and description (e.g., 2024-04-27_SchoolArt). Use folders to categorize by year, event, or type of document. Guarantee you create a digital backup on an external drive or cloud service to prevent data loss. To streamline access, consider creating a master spreadsheet with links to each file, describing its content. Here’s a sample structure:
| Year | Type of Document | Description |
|---|---|---|
| 2024 | Artwork | Kindergarten drawing |
| 2024 | School Paper | Science project report |
| 2024 | Artwork | Holiday craft |
This organization keeps your digital archive tidy and accessible, and taking the time to organize files digitally can save you significant hassle in the future. Incorporating digital organization techniques can further enhance your system and ensure your child’s treasures are preserved for years to come.
Cloud Storage Solutions
Using cloud storage solutions is an efficient way to keep your child’s artwork and school papers safe and easily accessible from any device. By uploading digital backups to the cloud, you can organize and preserve memories without clutter. Cloud storage services like Google Drive, Dropbox, or OneDrive make it simple to create folders for each year or project, so you can quickly locate specific items. Plus, you won’t worry about losing files if your hardware fails. Here are some tips to maximize your digital archive:
- Regularly upload new artwork and papers to stay current
- Use descriptive file names for quick searches
- Share folders with family members for easy access and collaboration
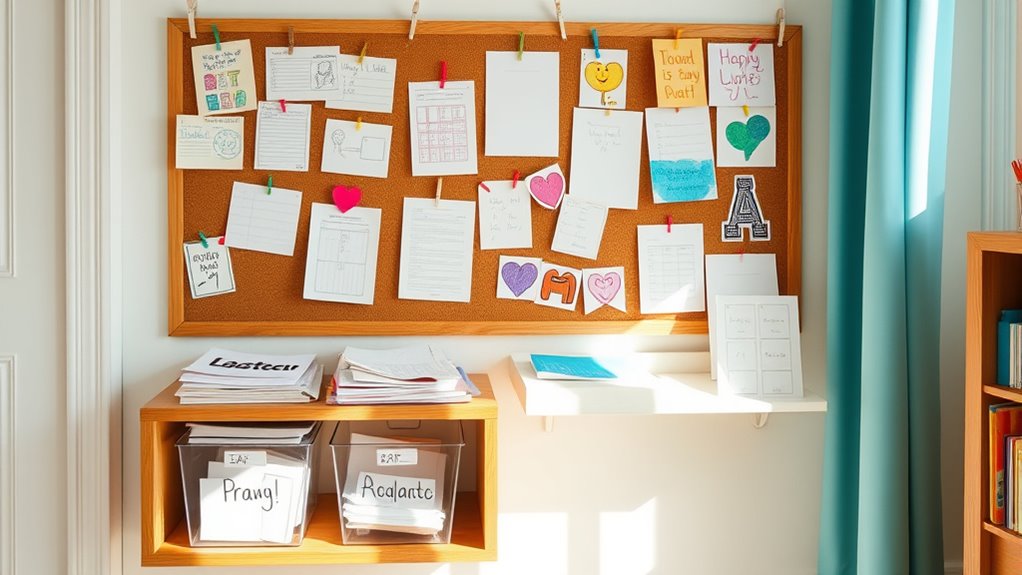
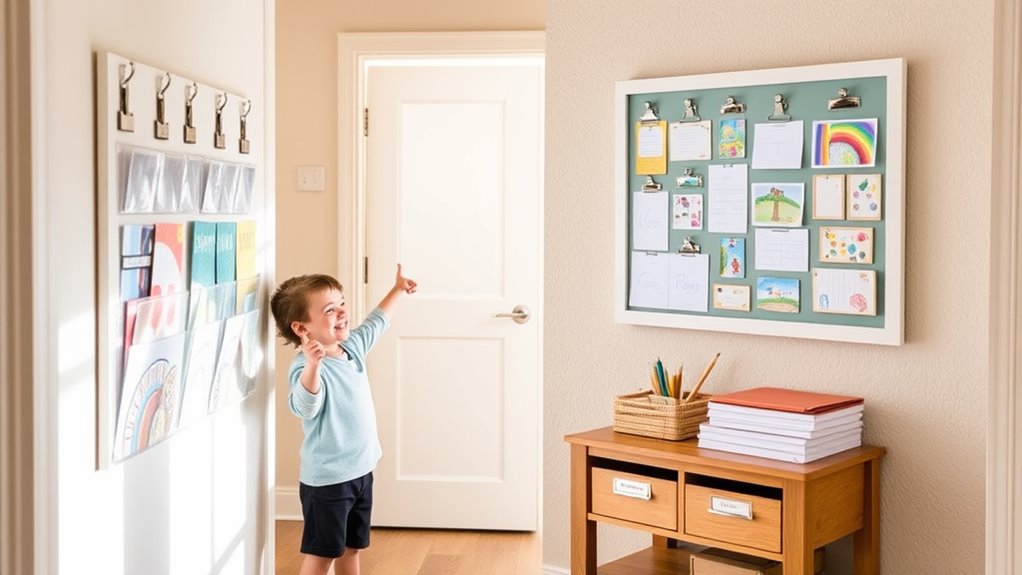
Designing a Rotating Display System
Creating a rotating display system for your child’s artwork and school papers keeps their creations fresh and organized, while also making it easy to showcase new pieces. Use display frames that are simple to open and update, so swapping out artwork becomes quick and hassle-free. Establish a rotation schedule—such as weekly or bi-weekly—to regularly change the displayed items, preventing clutter and keeping the display exciting. Designate a specific wall or bulletin board for this purpose, making it accessible and easy to update. By setting clear timing and using user-friendly frames, you create a dynamic gallery that celebrates your child’s efforts without overwhelming your space. Incorporating ventilation considerations can help preserve the artwork and prevent damage from humidity or moisture. Proper airflow and humidity control are essential for maintaining a dry environment that protects paper and art materials over time. Additionally, sound vibrations from proper airflow can contribute to maintaining a dry environment that protects paper and art materials over time.
Making Personalized Keepsake Books or Albums
Turning your child’s artwork and school papers into personalized keepsake books is a meaningful way to preserve their creative journey. You can create handmade scrapbooks or personalized photo albums that highlight their growth and talents. Use quality materials like decorative papers, stickers, and labels to make each page special. Incorporate photographs of your child creating art or holding awards to add a personal touch. Organize the contents chronologically or by theme to tell a story. Consider adding captions or short descriptions to capture memories behind each piece. These customized albums become treasured keepsakes that you and your child can revisit for years to come. Making these keepsake books is a rewarding project that celebrates their achievements while keeping clutter under control. Creative organization techniques can help ensure your keepsake albums remain a beautiful and manageable collection.
Utilizing Creative Repurposing Ideas
You can transform your child’s artwork into thoughtful gifts or use it to create one-of-a-kind wrapping paper that adds a personal touch. Making unique art collages is another way to showcase multiple pieces in a striking display. These creative repurposing ideas help you cherish memories while reducing clutter. Incorporating smart design principles can further enhance the organization and aesthetic appeal of your display solutions. Additionally, applying creative storytelling techniques to your displays can create meaningful narratives around your child’s artistic journey, fostering emotional connections and appreciation. Being mindful of odor clues can also help you identify potential issues with stored artwork, ensuring your collection remains fresh and healthy. Considering the comfort and ergonomic support of display areas can make it easier to enjoy and interact with your child’s creations over time. Moreover, paying attention to social-science research insights can guide you in developing display methods that encourage your child’s confidence and pride.
Turn Art Into Gifts
Transforming kids’ artwork into thoughtful gifts is a wonderful way to celebrate their creativity while reducing clutter. You can turn their drawings into personalized gifts that hold sentimental value. Use their artwork to create handmade gift ideas, like custom bookmarks, framed miniatures, or decorated photo frames. These sentimental keepsake crafts make meaningful presents for family members or friends. Incorporating practical mindfulness into the process can help manage the emotional challenge of parting with art. Additionally, understanding urban farming principles can inspire innovative ways to repurpose artwork into eco-friendly and personalized gifts. Embracing organizing techniques can further streamline the process and ensure your treasured creations are preserved meaningfully. Exploring creative repurposing ideas can also enhance your ability to transform art into memorable keepsakes while maintaining an organized space. Developing an art preservation plan can help maintain the quality of your creations over time.
Create Custom Wrapping Paper
Creating custom wrapping paper from kids’ artwork is a fun and eco-friendly way to add a personal touch to your gifts. You can transform drawings, paintings, or doodles into unique wrapping paper that showcases your child’s creativity. This approach makes gift wrapping more meaningful and memorable. To get started, scan or photocopy your child’s artwork and print it on large sheets of paper. Use the paper for gift wrapping, or cut it into smaller pieces for craft projects like card embellishments or gift tags. Incorporating sustainable practices into your creative projects can further enhance your efforts to repurpose and reduce waste. Understanding the life-cycle assessment of your materials can help you choose the most eco-friendly options for your projects. Here’s a quick look at ideas to inspire you:
| Idea | Material Needed |
|---|---|
| Artwork gift wrap | Scanned drawings, printer, paper |
| Decorative craft projects | Scissors, glue, additional embellishments |
Adding a variety of creative repurposing ideas can further enhance your projects and make the most of your child’s artwork.
Make Unique Art Collages
Turning your child’s artwork into custom wrapping paper is a wonderful way to celebrate their creativity. You can also create unique art collages by combining their drawings, paintings, and mixed media pieces. This offers a fun way to repurpose their art while making a memorable display. Collaborate with your child on these projects to foster their artistic confidence and problem-solving skills. Use different textures, colors, and materials to add depth and interest. Consider framing the finished collage or turning it into a poster for their room. These creative collages serve as personalized decor and preserve their artistic journey. Plus, working on collages encourages teamwork and sparks new ideas, making the process engaging and meaningful for both of you.
Setting Up a Regular Organization Routine
Establishing a consistent routine for organizing your kids’ artwork and school papers helps keep clutter manageable and guarantees important items don’t get lost. To do this, set aside specific times each week dedicated to sorting and storing new items. Good time management is essential; schedule these sessions in your calendar so they become part of your regular routine. Your involvement is key—by actively participating, you stay aware of what needs to be kept and can teach your child organization skills. Keep the process simple: designate a specific spot for incoming papers and review it regularly. Consistency prevents piles from building up and turns organization into a manageable habit, reducing stress and ensuring treasures are preserved without becoming overwhelming.
Involving Your Child in the Preservation Process
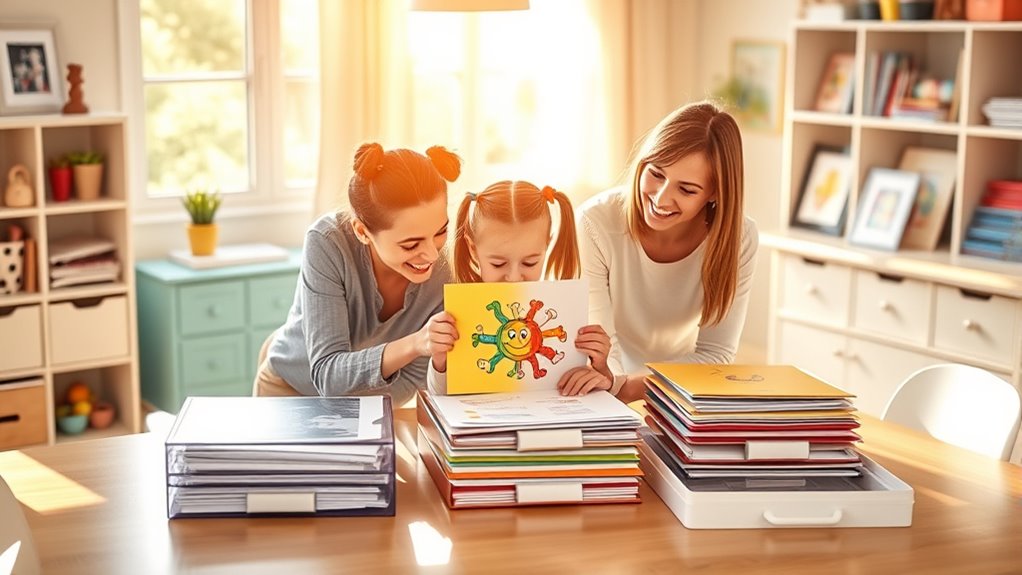
Involving your child in the preservation process helps them develop responsibility and a sense of ownership over their belongings. When you invite your child to participate, it turns organizing into a teamwork effort that’s both meaningful and fun. They learn the importance of caring for their creations and school papers while building confidence in their decision-making skills. To make it engaging, try these ideas:
- Let your child choose their favorite artworks to keep, fostering child involvement and ownership.
- Work together to create a special storage solution, like a scrapbook or labeled bins.
- Encourage them to decide what to donate or recycle, teaching preservation teamwork and responsibility.
This shared effort makes organizing a positive experience and helps your child value their treasures.
Frequently Asked Questions
How Can I Encourage My Child to Select Their Favorite Artworks?
You can encourage your child to select their favorite artworks by creating a fun, creative display area where they can showcase their top pieces. Ask them to talk about their emotional attachment to each artwork, helping them reflect on what makes each one special. This way, they feel involved in the process and proud of their choices, fostering confidence and a deeper connection to their creative work.
What Are Some Eco-Friendly Methods to Store or Display Artwork?
You can store and display artwork eco-friendly by recycling art supplies whenever possible, like repurposing cardboard or paper for new projects. Additionally, creating digital galleries allows you to preserve your child’s masterpieces without clutter. This method reduces waste and keeps your space tidy. Encourage your child to participate in these eco-conscious choices, making art storage a fun and sustainable activity that celebrates their creativity while caring for the environment.
How Do I Handle Sentimental Pieces That I Want to Keep Long-Term?
Did you know that 80% of parents struggle with keeping sentimental pieces? To handle these cherished items, dedicate a special box or folder for long-term memory preservation. Use sentimental sorting to select truly meaningful pieces, and consider creating a digital archive by photographing or scanning them. This way, you keep the emotional value without clutter, making it easier to revisit treasured memories anytime.
What Should I Do if My Storage Becomes Overcrowded?
When your storage gets overcrowded, start digital cataloging to free up space and keep a record of your child’s artwork and papers. Consider creative repurposing by turning favorite pieces into greeting cards, framed displays, or photo books. This way, you preserve the memories without clutter, making it easy to enjoy and share their creations while maintaining a tidy, organized space.
How Can I Involve My Child in Organizing Their Artwork Effectively?
Imagine a colorful array of drawings and projects, waiting to be sorted. You involve your child in creative decision making by letting them choose their favorite pieces for display or storage. Use engaging storage solutions like labeled bins or portfolios, making the process fun and empowering. Encourage them to decide what to keep, fostering responsibility and pride, while creating a system that’s organized and meaningful for both of you.
Conclusion
Think of organizing your child’s artwork like tending a garden—regular pruning keeps the beauty alive. By sorting, storing, and involving your child, you create a vibrant collection that grows with them. Just like a gardener treasures each bloom, you’ll cherish these keepsakes for years to come. With a little effort, you turn clutter into cherished memories, ensuring every masterpiece is a treasure worth preserving.