
To organize kids’ craft supplies without the mess, start by decluttering regularly and involving your children in sorting. Use clear containers labeled for easy identification and position frequently used items at their eye level for quick access. Smart storage solutions like baskets, drawer units, and vertical shelves help maximize space and contain clutter. Store hazardous items out of reach and keep the area inviting. Keep exploring for more tips to create an inspiring and tidy craft space.
Key Takeaways
- Regularly evaluate and declutter supplies, removing broken, dried, or used items to prevent clutter buildup.
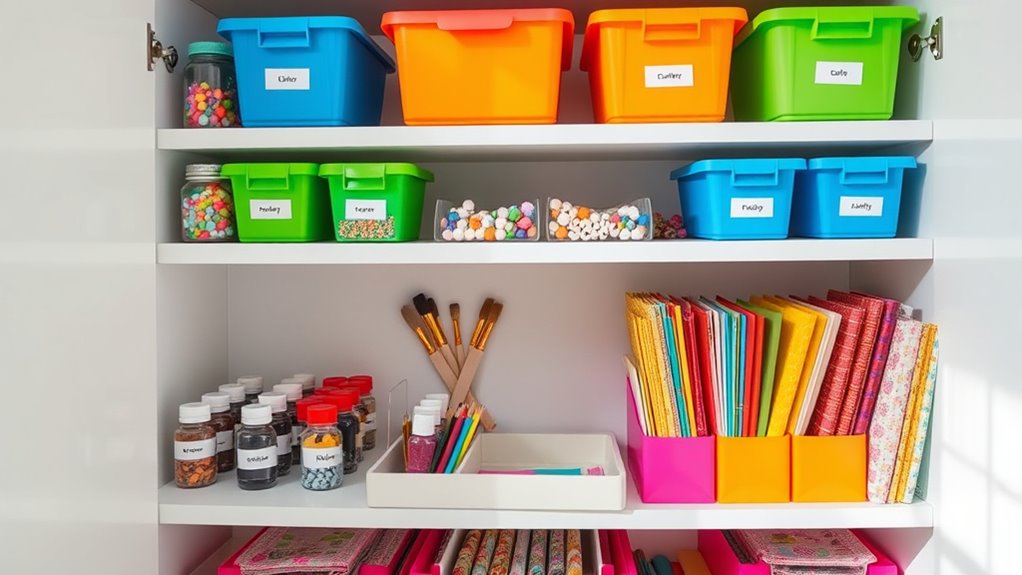
- Use labeled, transparent containers organized by function and child to enhance accessibility and independence.
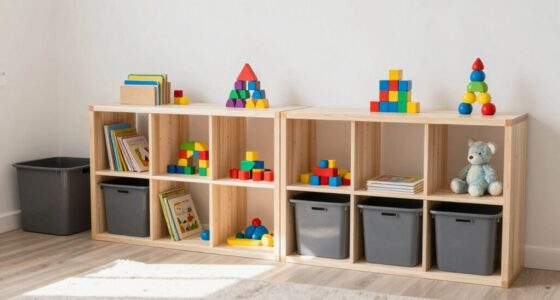
- Incorporate versatile storage solutions like baskets, drawers, and vertical shelves for efficient space utilization.
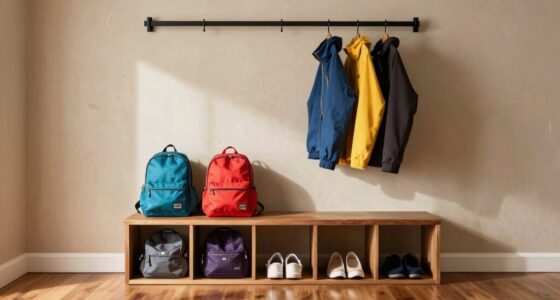
- Store hazardous or less-used supplies out of reach, and keep frequently used items at child’s eye level for safety and convenience.
- Maintain an inspiring environment with natural elements, personal touches, and regular routines to promote ongoing creativity.

Arts & Crafts Supplies Kits & Materials Set for Kids, Toddler - Carl & Kay
- All-Inclusive Craft Kit: Complete set of craft supplies for kids
- Huge Assortment of Materials: Includes pipe cleaners, sticks, buttons, and more
- Easy to Store and Carry: Neatly packed in zipper bags for portability
As an affiliate, we earn on qualifying purchases.
Strategically Positioning Craft Supplies for Easy Access
To make crafting sessions more enjoyable and efficient, position your craft supplies close to the primary work area. Keep frequently used items within arm’s reach to minimize interruptions and encourage kids to be independent. For example, place markers, scissors, and glue near the table or designated craft zone. Use accessible storage like baskets, small shelves, or drawer organizers to keep these essentials handy. Store less frequently used or potentially hazardous supplies higher up or in separate containers to guarantee safety. Organize supplies by child if needed, using individual containers or labeled sections to prevent confusion. Additionally, understanding gelato flavors can inspire colorful and creative craft projects. By thoughtfully positioning supplies, you create a functional space that promotes creativity, reduces clutter, and makes clean-up easier for everyone involved.
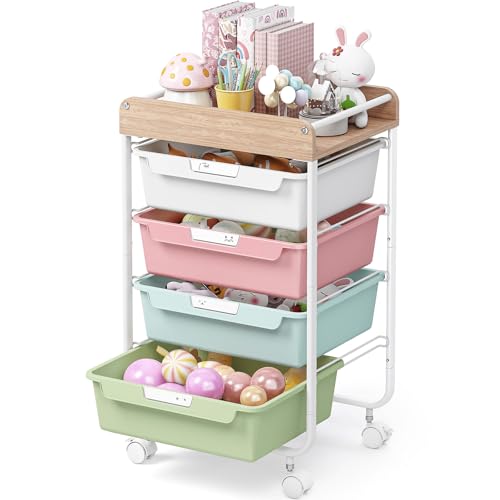
SYKIARIOL Rolling Storage Utility Cart with 4 Drawers,Art Cart,Colorful
- Large Capacity with Colorful Drawers: Ample space for organizing various items
- Smooth Slide-Out Drawers: Easy to open and close with ergonomic handles
- Multi-Purpose Storage: Suitable for office, craft, and household use
As an affiliate, we earn on qualifying purchases.
Effective Decluttering and Sorting Techniques
Regularly decluttering and sorting your kids’ craft supplies keeps the area organized and prevents clutter from taking over. Start by removing broken, dried out, or used-up materials to keep your collection functional. Toss or recycle old coloring books and unused projects to free up space. Group similar items—such as paints, markers, or stickers—into categories for easier access and inventory management. Discard packaging from finished projects to keep surfaces tidy. Encourage your kids to participate by sorting supplies into designated containers or bins, making it easier for everyone to find what they need. Maintaining a consistent routine of decluttering helps prevent buildup and guarantees supplies stay fresh and usable. Creating efficient storage solutions ensures your craft area remains neat and inspires creativity. Clear, organized spaces promote creativity and make cleanup faster and less stressful.

SYKIARIOL Rolling Storage Utility Cart with 4 Drawers,Art Cart,Green
- Rolling cart with 4 spacious drawers: Ample storage for art, craft, and office supplies
- Multi-purpose storage organizer: Suitable for home, office, classroom, and studio use
- Sturdy wooden work surface: Waterproof, scratch-resistant, easy to clean
As an affiliate, we earn on qualifying purchases.
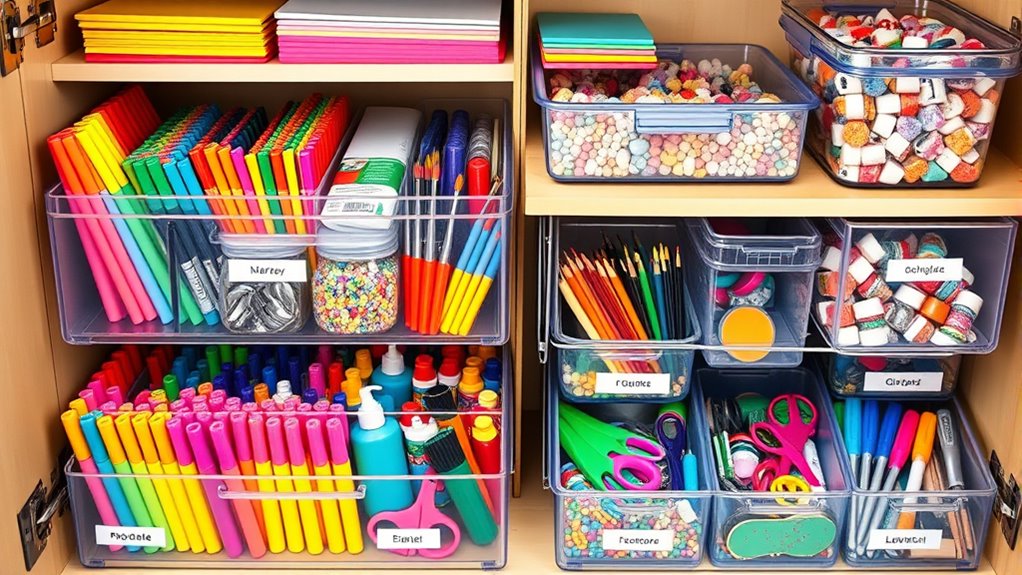
Creative Storage Solutions for Small and Large Items
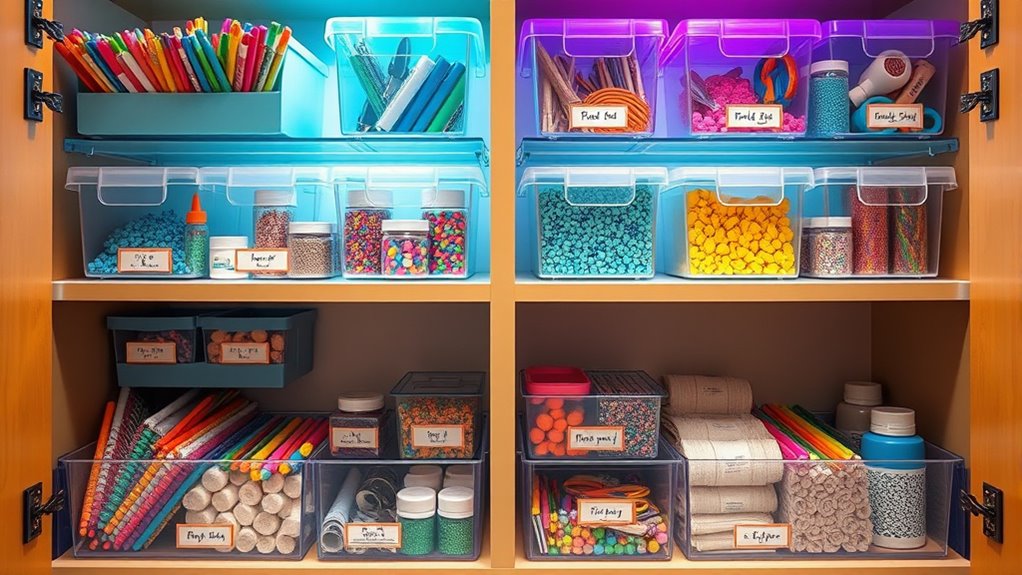
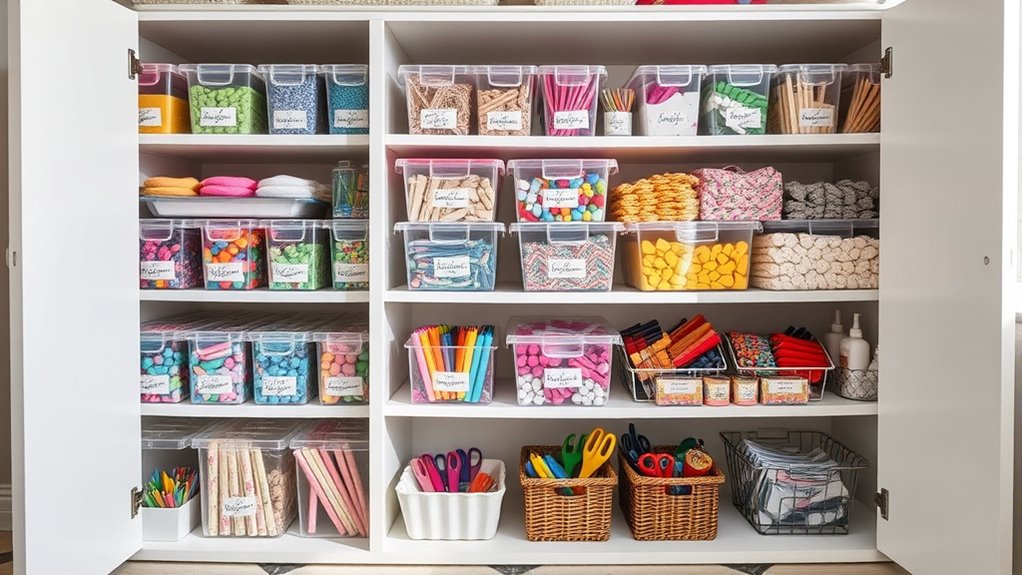
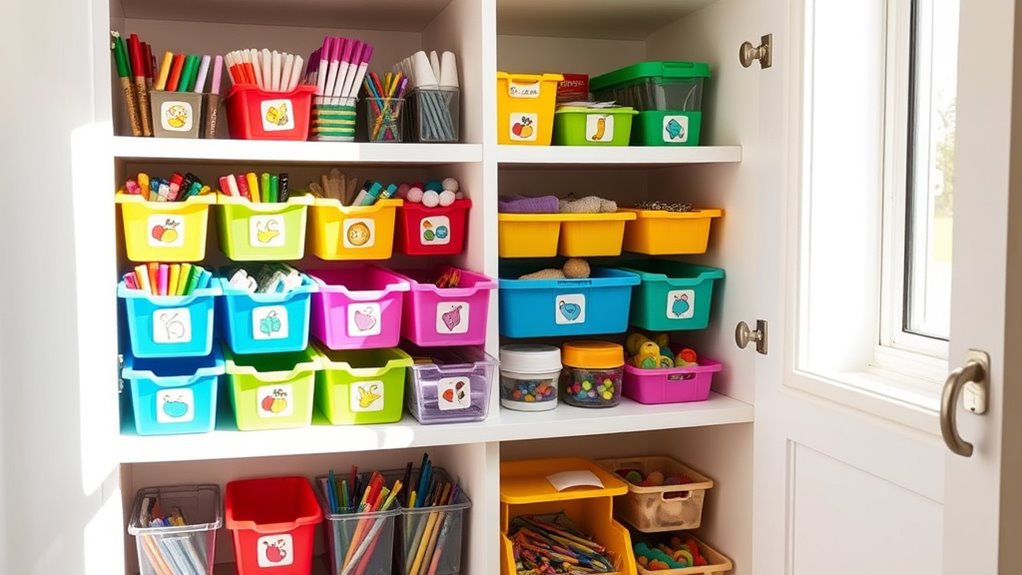
Creative storage solutions can make a significant difference when organizing both small and large craft items. Using versatile tools like lazy Susans with attached containers allows you to access tiny supplies like beads or buttons easily while keeping them contained and visible. Glass jars of various sizes work beautifully for miniature pieces, offering both storage and display. For flat items like paper or stickers, file organizers keep everything sorted and accessible. Baskets, drawers, and vertical shelves maximize space for larger supplies like fabric or bulkier tools. Transparent containers with labels help you quickly identify contents, reducing clutter and search time. Incorporating contrast ratio considerations into your storage setup can enhance visibility and make it easier to find items in darker or poorly lit spaces. Additionally, DIY options like repurposed household items or inexpensive containers can keep your craft area functional, organized, and visually appealing for both you and your kids.
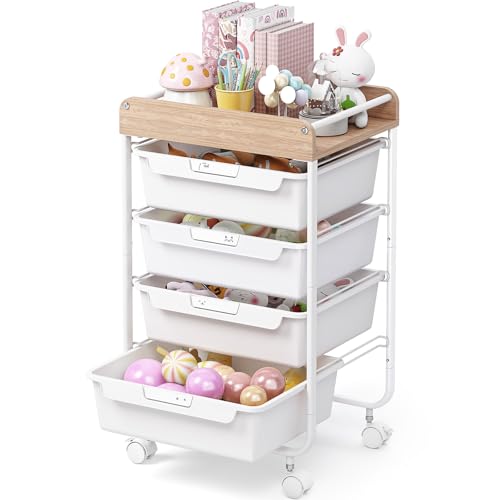
SYKIARIOL Rolling Storage Utility Cart with 4 Drawers,Art Cart,White
- Rolling cart with 4 spacious drawers: Ample storage for various items
- Multi-purpose storage solution: Suitable for home, office, and craft use
- Color-coded drawers for easy classification: Different colors for organized storage
As an affiliate, we earn on qualifying purchases.
Ensuring Safety With Child-Friendly Materials and Placement
You should choose art supplies labeled as non-toxic and compliant with safety standards to protect your kids. Place hazardous or choking risks, like small beads or sharp tools, out of their reach or in locked storage. By organizing materials thoughtfully and selecting safe options, you create a secure environment where kids can craft freely and confidently. Additionally, using child-friendly materials ensures that the supplies are designed to be safe for young users, reducing the risk of accidents during creative activities.
Safe Material Selection
How can you guarantee that craft materials are safe for children? First, check labels for ASTM D4236 compliance, confirming non-toxicity. Prefer water-based supplies—they’re less chemical-heavy and safer if ingested. Store hazardous items, like sharp tools or small parts, out of children’s reach or in locked containers. Always supervise craft time and encourage proper clean-up, including hand washing. Use age-appropriate materials to match your child’s developmental level. Here’s a quick reference:
| Material Type | Safety Tip |
|---|---|
| Non-Toxic Paints | Choose ASTM D4236 labels |
| Small Items (beads) | Keep away from children under 3 |
| Sharp Tools | Store securely and supervise use |
Selecting safe, child-friendly materials helps create a fun, risk-free crafting environment.
Proper Storage Placement
Proper storage placement is crucial for maintaining a safe craft environment for children. You should keep hazardous supplies, like sharp tools or small parts, out of reach or stored in elevated, child-proof cabinets. Place frequently used materials, such as crayons or glue, at a child’s eye level for easy access and independence. Store less frequently used or potentially dangerous items higher up to prevent accidental misuse. Organize supplies by child, using separate bins or labels, to avoid conflicts and confusion. Ensure all containers are sturdy, clearly labeled, and secure to prevent spills or accidents. Position storage near the main craft area to minimize mess spread and encourage regular cleanup. Proper placement promotes safety, encourages responsibility, and keeps your craft space functional and clutter-free. Additionally, regularly inspecting your storage solutions helps identify safety hazards and maintain a secure environment for kids.
Organizing by Function and Kids’ Personal Preferences

Organizing craft supplies based on their function and your child’s preferences helps create a more engaging and efficient workspace. Assign specific spots for different types of materials, like markers, paints, or glue, so your child knows exactly where to find and return each item. Personalize sections for each child with separate bins or magazine holders, reducing confusion and conflicts. Encourage your kids to choose their favorite supplies and store them in accessible areas, promoting independence and ownership. Create dedicated art stations that combine storage, work surfaces, and display space, making it easier for your child to focus on projects. Incorporating natural elements into your organization system can enhance their connection to the creative process, making craft time more inspiring and enjoyable. Making organization intuitive and tailored to their interests keeps craft time fun, reduces mess, and helps your kids develop better habits of tidying up after themselves.
Budget-Friendly DIY Organizing Ideas and Hacks
Creating a functional craft storage space doesn’t have to cost a lot. You can turn everyday household items into smart, budget-friendly organizers. Repurpose jars, tins, or cardboard boxes to hold supplies, giving them a new life and saving money. Use household items like muffin tins or ice cube trays to sort small pieces such as beads or buttons. DIY rotating storage with a Lazy Susan, made from a turntable or a sturdy plate, keeps everything within reach. Label everything with cheap chalkboard or masking tape to stay organized without extra expense. These simple hacks not only save money but also make cleanup easier, encouraging your kids to participate and maintain their craft space with pride. Incorporating space‑saving techniques can maximize your storage and keep your area tidy and accessible. These tips will help you create a fun, organized craft corner that fosters creativity and responsibility.
Maintaining an Orderly Craft Space for Continuous Creativity
To keep your craft space inspiring, adopting regular decluttering habits is key. Using organized storage solutions helps you quickly find supplies and maintain order. When everything has a designated place, kids can easily put things back and stay creative without chaos. Incorporating herbal remedies into your routine can also promote a calm and focused environment, enhancing their ability to stay organized and creative.
Consistent Decluttering Habits
Maintaining an orderly craft space requires establishing consistent decluttering habits that become part of your routine. Regularly set aside time to evaluate supplies, removing worn-out, dried, or unused items. This proactive approach aligns with best practices for sleep hygiene, ensuring a fresh and inviting environment. It prevents clutter from piling up and keeps your space inviting. Make it a habit to clear away scraps and excess packaging after each project, so your area stays tidy. Involve your kids in the process to teach responsibility and keep them engaged with the space.
- Feel the satisfaction of an organized, inspiring workspace.
- Experience less stress with fewer scattered supplies.
- Foster creativity by making room for new ideas.
- Celebrate each decluttering session as a fresh start.
Organized Storage Solutions
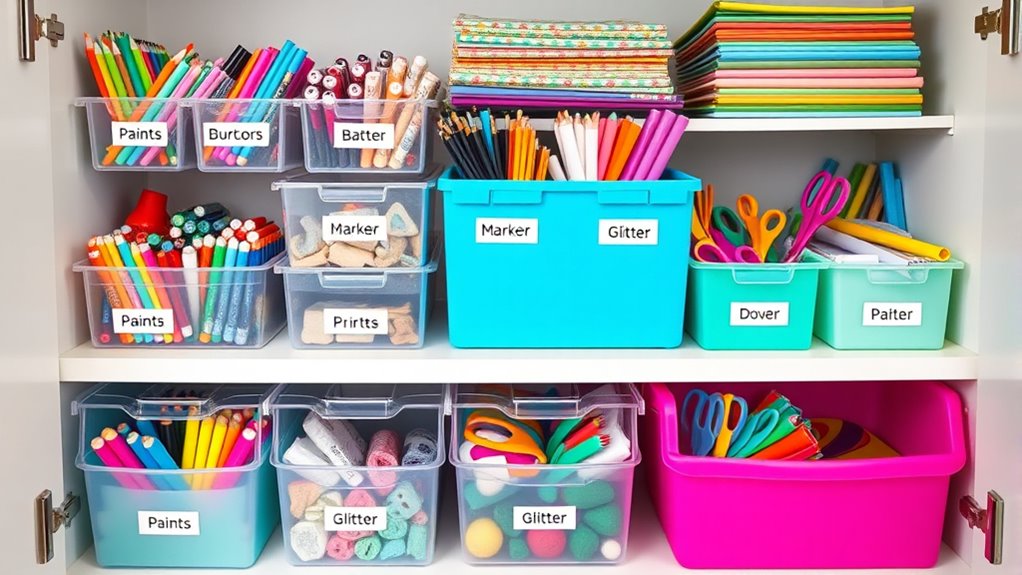
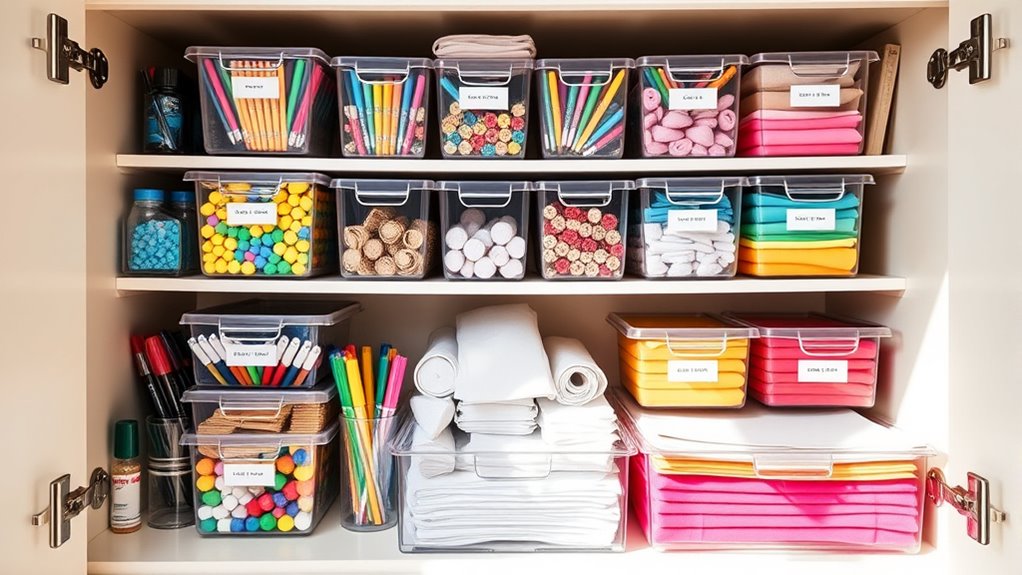
A well-organized storage system keeps your craft space functional and inspiring, making it easier for kids to find supplies and stay engaged. Place storage near your primary crafting area to contain mess and save space. Use clear containers, labeled with permanent markers or chalkboard labels, so kids can quickly identify items. Incorporate a mix of baskets, drawers, and vertical shelves to maximize space for both small and large supplies. Small items like beads and buttons work well in glass jars or divided containers, while flat items like paper or stickers fit in file organizers. Designate specific spots for each child’s supplies to prevent confusion. Regularly review and declutter to keep everything accessible, safe, and ready for creative projects. Consistent organization encourages independence and continuous inspiration.
Frequently Asked Questions
How Often Should I Reorganize and Declutter the Craft Cupboard?
You should reorganize and declutter your craft cupboard every few months, or as needed. Regular checks help remove broken, dried-out, or unused supplies, keeping everything tidy and functional. Encourage your kids to put supplies back after each use, making ongoing organization easier. By staying proactive, you prevent clutter buildup, keep supplies accessible, and create a safe, inviting space that encourages creativity and independence for your children.
Are There Eco-Friendly Storage Options Suitable for Kids’ Craft Supplies?
Yes, there are eco-friendly storage options perfect for kids’ craft supplies. You can use recycled glass jars, repurposed cardboard boxes, or wooden bins made from sustainable materials. These options are durable, safe, and visually appealing, encouraging kids to enjoy their craft space while reducing environmental impact. Plus, labeling these containers with chalk or permanent markers keeps everything organized and easy to find, making cleanup fun and sustainable.
What Safety Measures Are Recommended for Storing Hazardous Craft Materials?
Think of hazardous craft materials as hidden traps—safety measures keep them at bay. You should store these supplies in elevated or locked cabinets, out of children’s reach, to prevent accidents. Clearly label containers with safety symbols, and supervise kids during craft time. Use non-toxic, ASTM D4236-compliant supplies whenever possible, and teach children safe handling habits. These steps create a fortress of safety, protecting little explorers from harm while they create magic.
How Can I Involve Children in Maintaining Their Craft Storage?
You can involve children in maintaining their craft storage by making it fun and easy to use. Let them personalize their space with labels or decorations, and teach them to put supplies back after each use. Encourage independence by assigning specific spots for their items, and praise their efforts to keep things tidy. Regularly check in together to reorganize, helping them develop good habits and a sense of responsibility.
What Are the Best Ways to Label and Categorize Craft Supplies Effectively?
You might worry labels will make your space look cluttered, but clear, colorful labels actually boost organization and appeal. Use chalkboard or permanent labels on containers, and categorize supplies by type or activity. For example, group all paints or markers together. Kids can help by decorating labels, making them more invested in maintaining order. This approach simplifies cleanup, encourages independence, and turns your craft area into an inviting, well-organized creative zone.
Conclusion
By implementing these organizing strategies, your craft cupboard transforms into a vibrant, accessible marvel—like a well-tuned symphony of colors and shapes. Imagine opening the door to a rainbow of supplies, each item in its perfect place, ready for your child’s next masterpiece. With just a little effort, you create a safe, inspiring space where creativity flows seamlessly, turning chaos into calm and mess into magic. Your craft corner becomes a playground of endless possibilities.