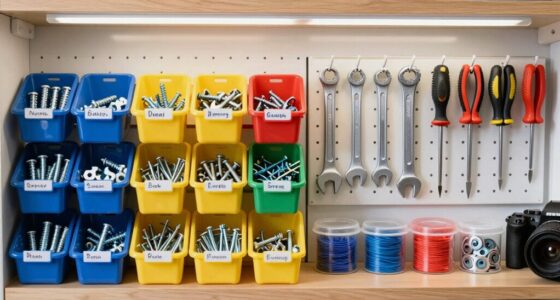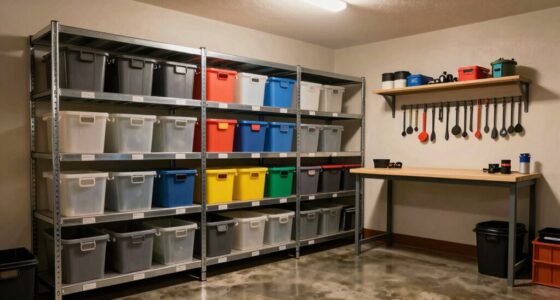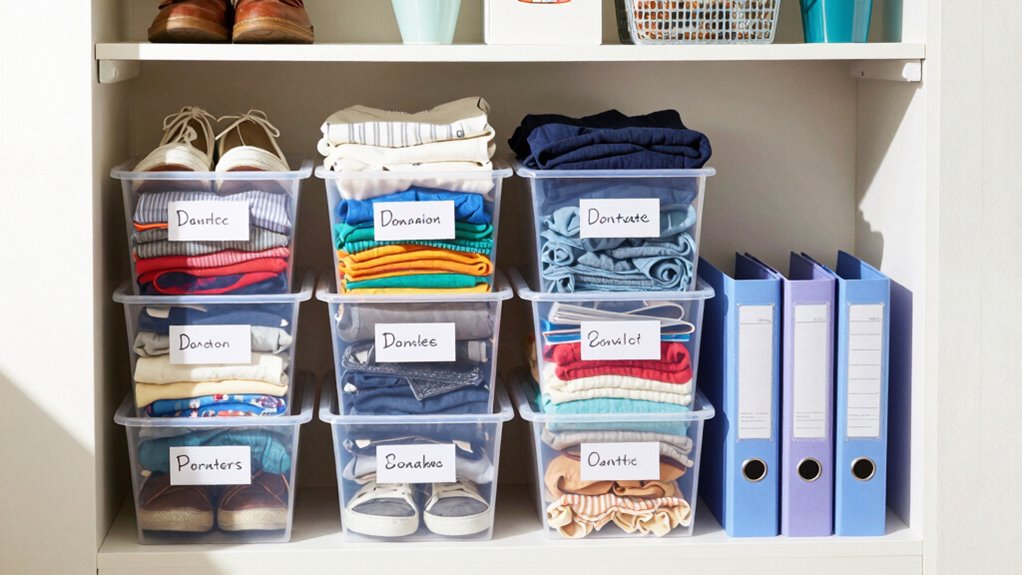

To organize donation items before they sit for months, gather everything in one designated space and categorize items clearly, such as clothing, books, or kitchenware. Clean and repair items beforehand to make sure they’re ready to go. Label containers and keep them accessible for quick addition. Schedule a specific day for drop-off to stay on track, and review everything one last time to confirm it’s prepared. Keep your process smooth—more tips can help you stay motivated and efficient.

Get the little things that make your day delivered free with Prime
- Fast, free delivery on millions of items
- Prime Video, Amazon Music and more included
- Member-only deals all year
Key Takeaways
- Gather all items in one designated space to prevent scattering and facilitate easy sorting.
- Categorize items with clear labels like “clothing” or “books” for quick identification.
- Ensure items are clean, repaired, and ready for donation before storage.
- Use labeled containers or boxes for each category to keep items organized and accessible.
- Schedule regular check-ins to review and update donation items, preventing them from sitting unused for months.
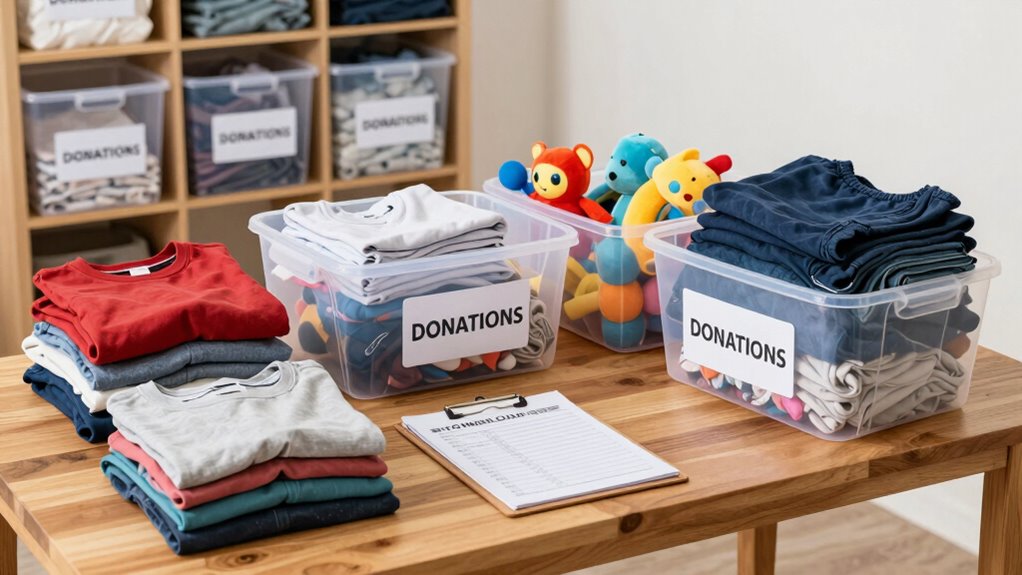
Organizing donation items can feel overwhelming, but breaking the process into manageable steps makes it much easier. When you focus on clutter reduction, you create a clearer path to sorting and preparing items for donation. Instead of trying to tackle everything at once, start by setting aside a specific time to go through your belongings. This helps prevent the process from becoming a formidable chore and keeps you motivated. As you sort, keep clutter reduction in mind—aim to eliminate items you no longer use or need, which not only simplifies your space but also makes donation preparation more efficient.
Once you’ve decided what to donate, gather all items into one designated space. This prevents scattered piles and allows you to see exactly what you’re working with. When organizing donation items, check each piece for cleanliness and functionality. Washing or repairing items beforehand ensures they’re ready for donation and makes a good impression on the recipients. This small step saves time later and shows respect for the organization receiving your donations. Additionally, staying organized during this step can help you avoid leaving behind items that could be useful.
Gather all donation items in one spot, then clean and repair for a smooth, respectful donation process.
Labeling is essential in donation preparation. Use clear, specific labels like “clothing,” “books,” or “kitchenware” to categorize your items. This will streamline the drop-off process and help the donation center sort your items quickly. Keep in mind that some organizations have specific guidelines about what they accept, so double-check their requirements to avoid unnecessary trips or delays. Removing tags, price stickers, or any personal markings also helps your items look presentable and ready for immediate use.
As you prepare donation items, consider creating a dedicated box or bag for each category. This not only keeps things organized but also makes loading and transporting easier. If you’re donating in stages, keep these containers accessible and clearly marked so you can quickly add new items as you declutter further. Remember, the goal is to make donation as seamless as possible, so your preparedness encourages a smooth handoff. Managing your donation supplies with organized storage can significantly improve the overall process. Incorporating efficient sorting techniques can further streamline your efforts and save time.
Finally, plan your donation drop-off in advance. Schedule a specific day and time to deliver your items, which helps prevent items from sitting for months. When you’re ready to drop off, take a moment to review everything one last time. Making sure your donations are tidy, categorized, and well-prepared reduces the chance of delays or clutter buildup. Incorporating security strategies into your donation process can also help protect your personal information and ensure a smooth transaction. By staying organized throughout the process, you turn what could be a stressful task into a satisfying act of clutter reduction that benefits both you and those in need.
As an affiliate, we earn on qualifying purchases.
Frequently Asked Questions
How Do I Decide Which Items to Donate?
You decide which items to donate by sorting clothing based on condition and season, setting aside everything you no longer wear or need. For toys, categorize by type and check for broken or missing pieces. Keep items in good condition, and be honest about what you no longer use. Once sorted, you’ll have a clear list of donations, making it easier to deliver or drop off everything efficiently.
What Storage Containers Are Best for Donation Items?
You should choose storage containers that are durable, stackable, and easy to label, like clear plastic bins or sturdy cardboard boxes. These container types help you see the contents quickly and keep items protected. Opt for solutions with lids to prevent dust and pests. Using versatile storage solutions guarantees your donation items stay organized, accessible, and in good condition while waiting for donation.
How Often Should I Revisit My Donation Organization?
You should revisit your donation organization every few months—because, honestly, donation myths suggest you’d forget about those items otherwise. Regular check-ins keep clutter reduction on track and prevent your space from turning into a donation graveyard. Think of it as a spa day for your clutter—refresh, reassess, and donate again if needed. Otherwise, your well-organized system might become a forgotten relic of good intentions.
Are There Items That Shouldn’T Be Donated?
You should avoid donating expired items or clothing that’s stained, torn, or heavily worn. Expired personal care products, medications, and perishable foods aren’t suitable for donation and can be unsafe. Always check clothing donation guidelines—donate only clean, intact garments. Items in poor condition don’t help those in need and can clutter your space. Regularly review your donations to make certain only appropriate, useful items go to charity.
How Can I Motivate Family Members to Help Organize?
Getting your family involved is like lighting a fire—you need to spark their interest first. Use motivation strategies such as making it a team effort, offering small rewards, or setting clear goals. Share the importance of decluttering and how their help makes a difference. When everyone feels involved and appreciated, they’re more likely to leap into action, turning organization into a fun and rewarding family project.
labeled plastic storage containers
As an affiliate, we earn on qualifying purchases.
As an affiliate, we earn on qualifying purchases.
Conclusion
Organizing your donation items now means less stress later and more space in your home. Don’t worry if it feels overwhelming at first—you’ll feel so much better once everything’s sorted and ready to go. Plus, keeping things tidy prevents your donations from sitting unused for months. Just take it one step at a time, and remember, a little effort today makes a big difference for someone in need tomorrow. You’ve got this!
As an affiliate, we earn on qualifying purchases.
As an affiliate, we earn on qualifying purchases.
Columbus Day / Indigenous Peoples' Day Picks
long weekend sales
As an affiliate, we earn on qualifying purchases.